Today's post is a quick tutorial for building a DIY ribbon holder. The Garage Makeover Series will have to be suspended for a week. I did manage to rent a truck and drag my brother with me to the hardware store to buy all the drywall supplies I needed. However, I didn't have a chance to install the drywall over the weekend. Instead we had a baby gender reveal party. Read the whole post to find out if it's a boy or girl! But anyway... back to today's project.
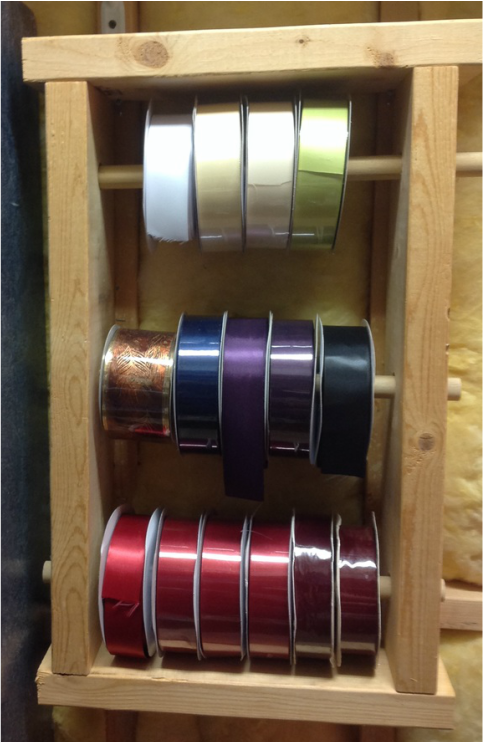
Organizing my house is a craft project all on its own. You may have seen my last DIY craft project post. That was another organization tutorial. This one is no different. My many many bolts of ribbon were starting to get a little out of control. I kept them stacked in a corner of my closet, and every time I needed one, I would end up knocking the whole stack over in an attempt to remove one color. So I decided I needed to attach them to some sort of contraption that would allow me to cut the ribbon without removing the whole roll. Hence the Wooden Ribbon Holder.
This project was constructed completely from scrap materials leftover from other projects. I used some random 2X6 pieces to make the frame. The exact measurements will vary depending on what size your ribbon is and how many you have. Most of my rolls of ribbon are fairly large. I like to buy in bulk from ribbonbazaar.com to try and save some money.
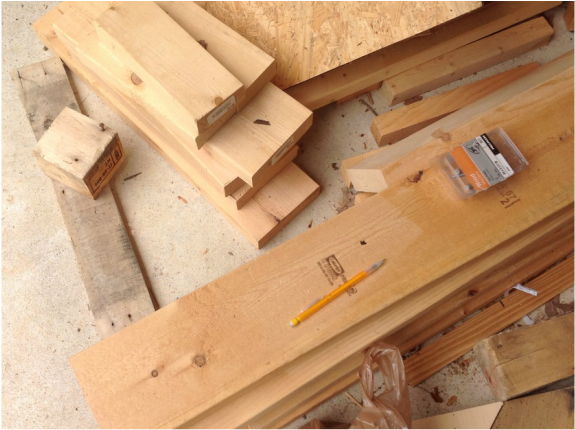
Once I figured out the size of my frame, I cut a few 2X6s down to size. I used the 2X6s specifically so I would have enough room to cut the holes in the frame for the dowel rods and not have any of the ribbon hanging out of the back of the frame. I measured the length of each ribbon roll from the center to the outside to determine where the holes for the dowel rods would need to be drilled.
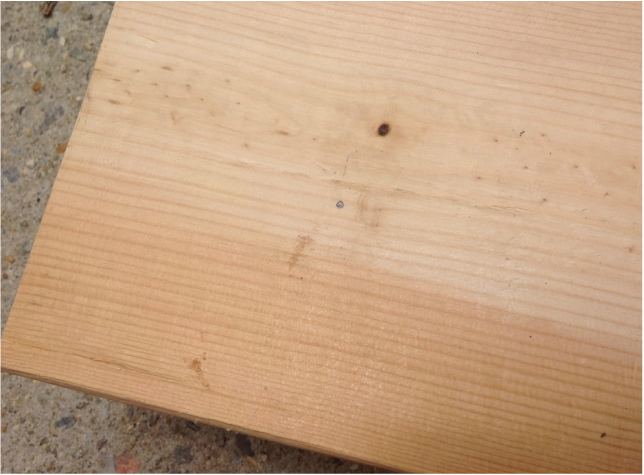
Marking the spots for drilling holes
Once I had the spots marked, I used a power drill with a 1 inch spade drill bit to drill the holes. I tried to get the size of the hole as close to the size of the dowel rod as possible without being too small.
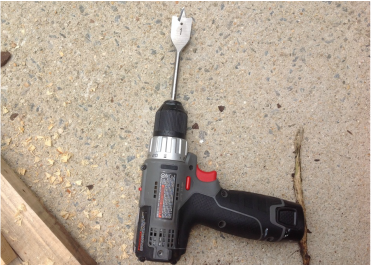 | 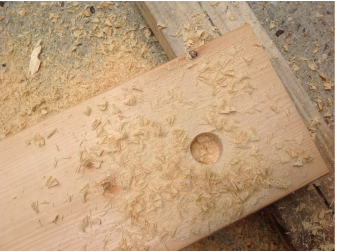 |
I drilled 3 holes on each side of the frame so I could do three rows of ribbon on top of one another.
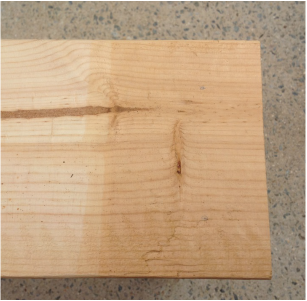
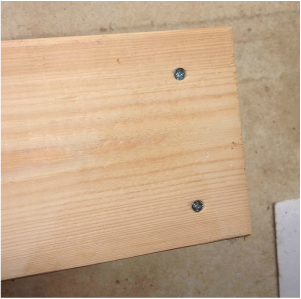
Once the holes were drilled, I assembled the frame. I set the two sides upright on a flat surface and placed the top of the frame on top of them. I marked where I wanted to drill the screws. I used an impact driver drill to drill the 2 1/2 inch screws through the top of the frame to secure each side.
 |  |
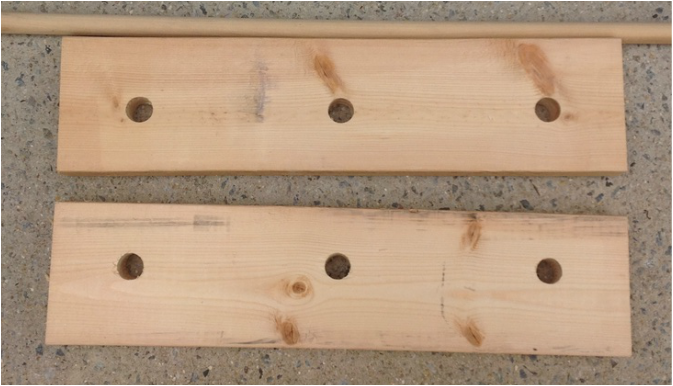
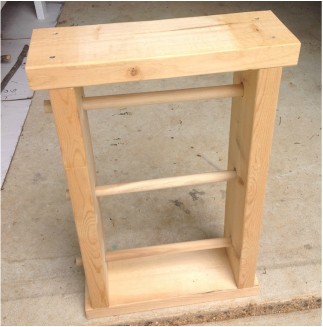
I repeated those same steps for the bottom of the frame as well. The result was a rectangular shaped frame with three holes in each side.
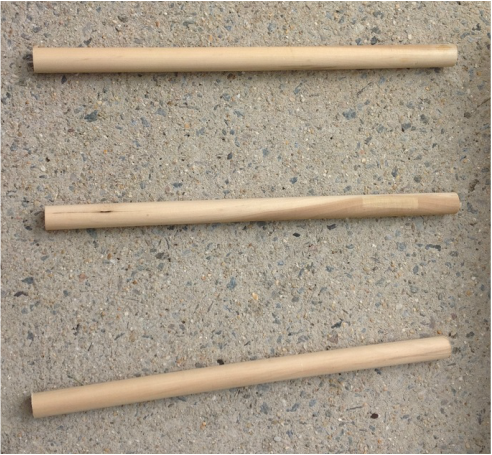
After the frame was assembled, I measured the dowel rod and cut it into three parts. I made sure each part extended past the frame so I could easily remove them. I slid the dowel rods through the holes to make sure everything looked good before the addition of the ribbon.
After the frame was assembled, I measured the dowel rod and cut it into three parts. I made sure each part extended past the frame so I could easily remove them. I slid the dowel rods through the holes to make sure everything looked good before the addition of the ribbon.
 |  |
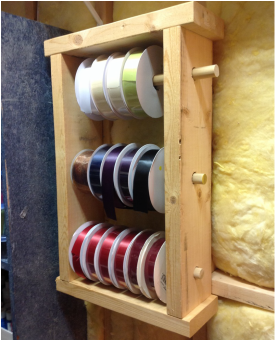
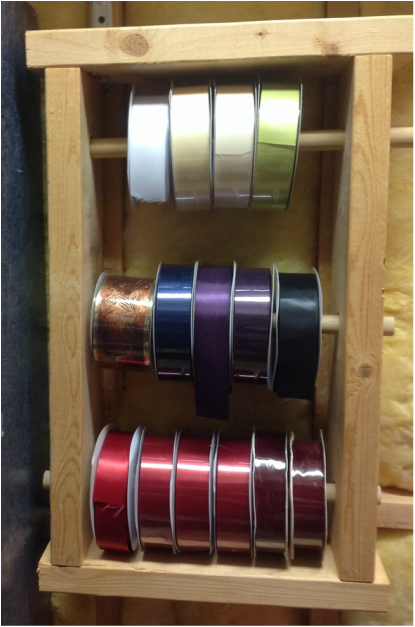
The next step was to add the ribbon. I slid each dowel rod out of one side of the frame and put the ribbon on while the other side was still in the frame. Once the ribbon was in place, I just slid the other side back in.
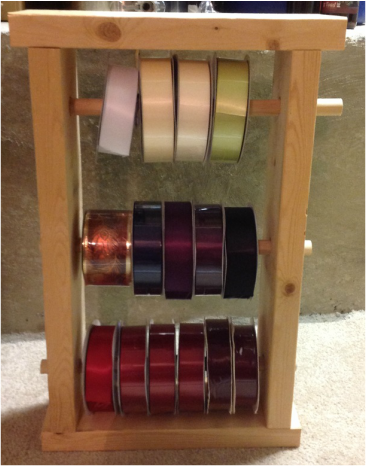
Finished!
Since this particular project was going up on the wall in my closet, I didn't feel the need to paint it. However, one day, when I have my own room just for my crafts, I will paint it up and make it all cute so I can hang it on the wall in plain sight. That is my dream... an entire room devoted just to crafts.
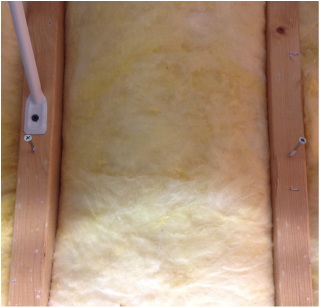
For now, I just left it as is and secured it to the wall in our closet. I drilled two screws into the studs on the wall and placed the frame on those. It fits perfectly next to my bookshelf full of craft supplies, and it can be easily removed and toted around to my different crafting areas in the house. Perfecto!
For now, I just left it as is and secured it to the wall in our closet. I drilled two screws into the studs on the wall and placed the frame on those. It fits perfectly next to my bookshelf full of craft supplies, and it can be easily removed and toted around to my different crafting areas in the house. Perfecto!
 |  |
And there you have it. A cheap and easy way to organize in less than an hour. Done and done.
Stayed tuned next week for what will hopefully be Part 3 of the Garage Makeover Series. And now that we know we're having a BABY GIRL!!! the nursery projects will soon follow.
Stayed tuned next week for what will hopefully be Part 3 of the Garage Makeover Series. And now that we know we're having a BABY GIRL!!! the nursery projects will soon follow.
Wooden Ribbon Holder
 RSS Feed
