Halloween, in my opinion, is the best season for decorating. Christmas is a close second, but it is so much easier to decorate for Christmas. With Halloween, you really have to get creative. So that's exactly what I did. This is a quick tutorial for spider web lanterns.
Materials:
Materials:
- Lanterns
- Black spray paint
- Black Paint Pen
When I was originally planning my wedding, I liked the idea of having lanterns as part of my centerpieces. Long story short, I had zero lanterns present at my reception. However, I had purchased a few in the planning process and I recently got around to doing something with them.
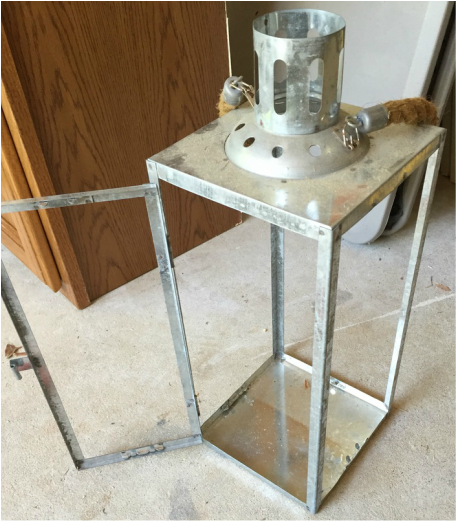
The ones I'd purchased were a little beat up. I knew they needed a makeover, I just wasn't sure what kind of makeover. So when fall rolled around and I started thinking ahead to Halloween decorations, I knew the lanterns would be perfect.
Here are the steps I used to transform them.
Step-By-Step Instructions
Step 1: Start by cleaning them up and making sure they are free of dust and remove the glass panes. (This step is kind of important. If you have lanterns where the panes cannot be removed, you can use painter's tape to cover the glass, but the whole process will be a little bit harder.)
Step 2: Remove any attachments (ropes, etc) from the lanterns or cover them with painter's tape. My lanterns had ropes attached to them that I removed and did not put back on.

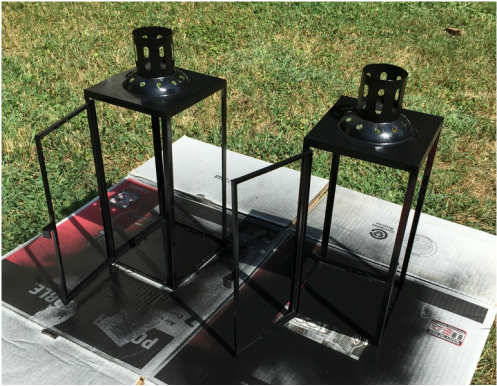
Step 3: Set your lanterns up where you want to spray them. I put a large piece of cardboard out on my lawn. Choose your spray paint. I used Rust-Oleum American Accents Black Gloss.

Step 4: Spray a thin layer of spray paint over the lanterns making sure to cover any corners that will be visible. I sprayed the inside and outside so they would be as dark as possible. Repeat these steps until you are happy with the coverage.
Step 5: Make sure the glass panes are clean. I used Windex to make sure they were nice and clear. Place them individually on a flat surface to be painted.
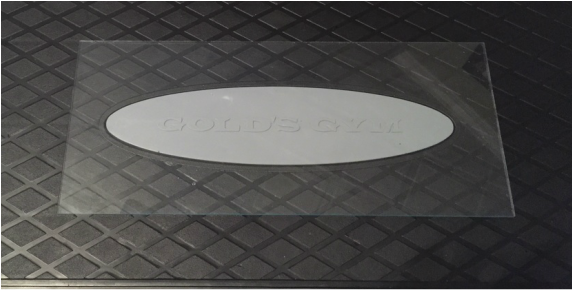
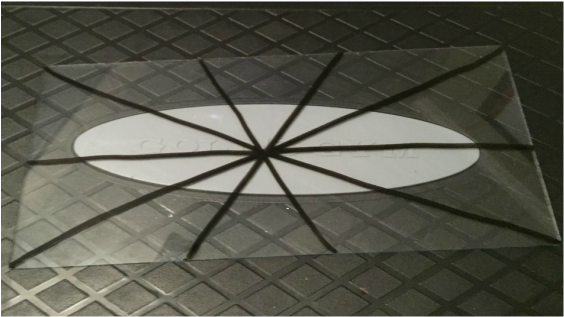
Step 6: Use your black paint pen to draw lines on the surface of the glass. I started by connecting the corners and then drawing a few more lines that all met in the center. You could also use black puffy paint (less control and longer to dry) or a black sharpie (lighter, less noticeable lines).
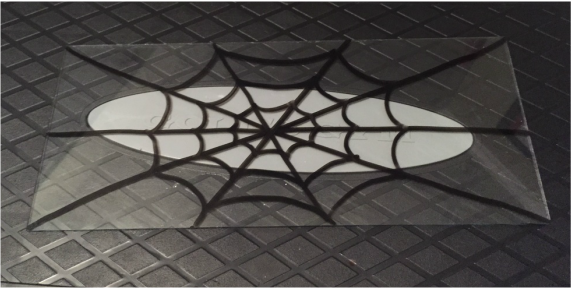
Step 7: Once you have all your intersecting lines drawn, you will need to connect them with arched lines to get the spider web appearance. I did three different full sets that you can see below.
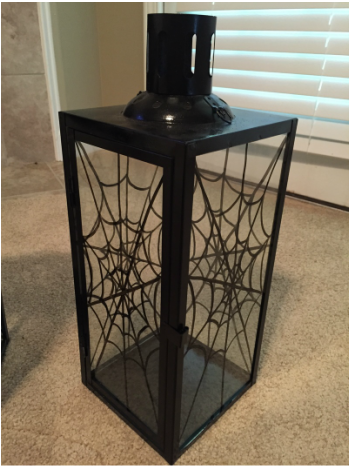
Step 8: Once the paint is dry on everything, you can put the panes back in the lanterns and secure them.
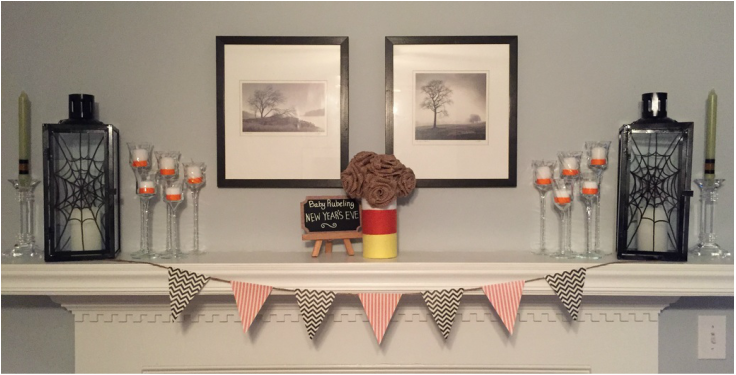
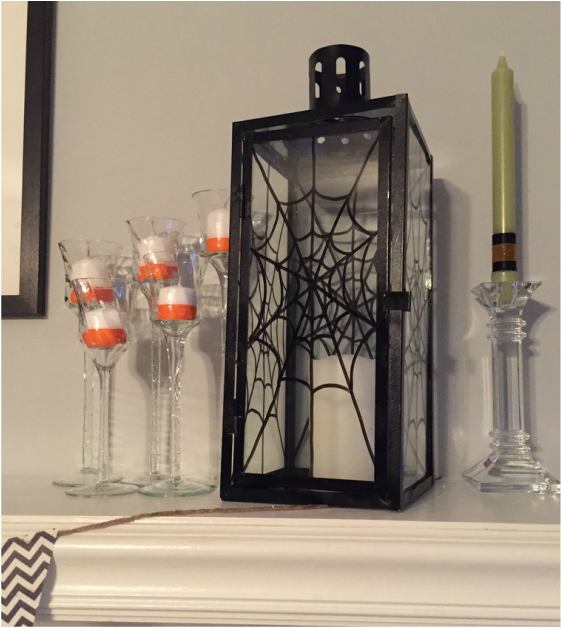
Step 9: Display! I added some battery operated flickering candles and placed them on my fireplace mantle next to a bunch of other candles I already had up there. I think they are the perfect Halloween touch to my family room without being over the top. With a few other seasonal decorations, they really showcase my love for the holiday.
 RSS Feed
