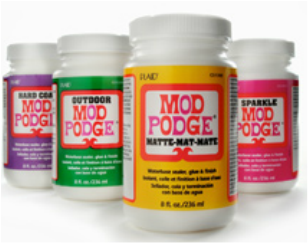
If you have never tried using Mod Podge, you are missing out. The PLAID (maker of Mod Podge) website describes it as “the all-in-one glue, sealer, and finish”. That being said, it is a must-have in the craft arsenal.
I am really big on thrift store makeovers. I love finding little trinkets that I can spruce up and use to decorate the house. I generally use the Mod Podge to cover things in craft paper so I can get the detailed look I want without having to paint it myself.
I used this very method to make a box for my mail. Of course, being a project enthusiast, I began to paint before I took any pictures of my thrift store find. You get the idea…
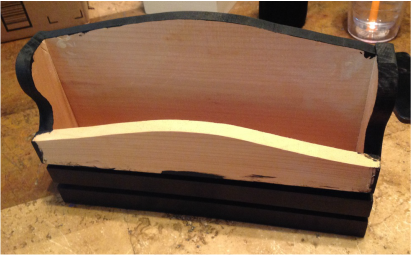
As you can see, I started by painting the outside the color I wanted. I chose black because I had a nice array of black and white craft paper that I was going to choose from for the inside of the box. Once I finished painting, I selected my craft paper, measured the dimensions, and cut out what I needed.
I used a regular paint brush and brushed a layer of Mod Podge on the area that I was going to apply the paper. I immediately slid the paper into place and smoothed it as best I could. I let it dry like I would any other glue.
I used a regular paint brush and brushed a layer of Mod Podge on the area that I was going to apply the paper. I immediately slid the paper into place and smoothed it as best I could. I let it dry like I would any other glue.
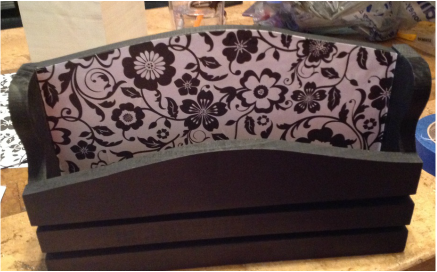
Note: If there are any bubbles in the paper after it dries, just take a pin, poke a hole in the bubble, and smooth it out.
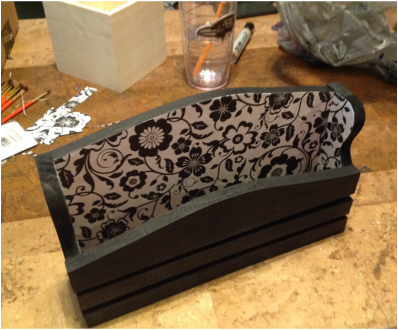
Once the Mod Podge dried, I spread another layer of it on top of the paper and let that dry as well. I did this for the whole inside of the box. The back and the sides.
Once the Mod Podge dried, I spread another layer of it on top of the paper and let that dry as well. I did this for the whole inside of the box. The back and the sides.
That is how I turned my one dollar thrift store find into a cute little mail box.
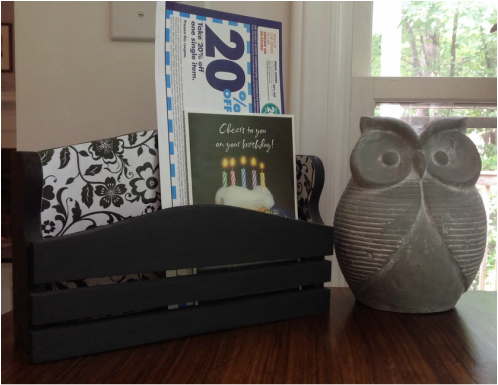
Note: Mod Podge comes in many different finishes. The type to use depends on the project you are using it for. I used the “Gloss” finish to give it a little bit of shine, but the “Matte” finish would have worked just as well without the shine.
 RSS Feed
