Big "Thank You" to my friend Sarah for this post. She asked me the other day if I wanted to work on some baby headbands with her. I jumped at the opportunity, not only because I wanted some baby headbands, but because I've seriously been slacking with my blog posts.
We got together with a big stack of crafts and a few choice Pinterest tutorials and came up with a few different ideas.
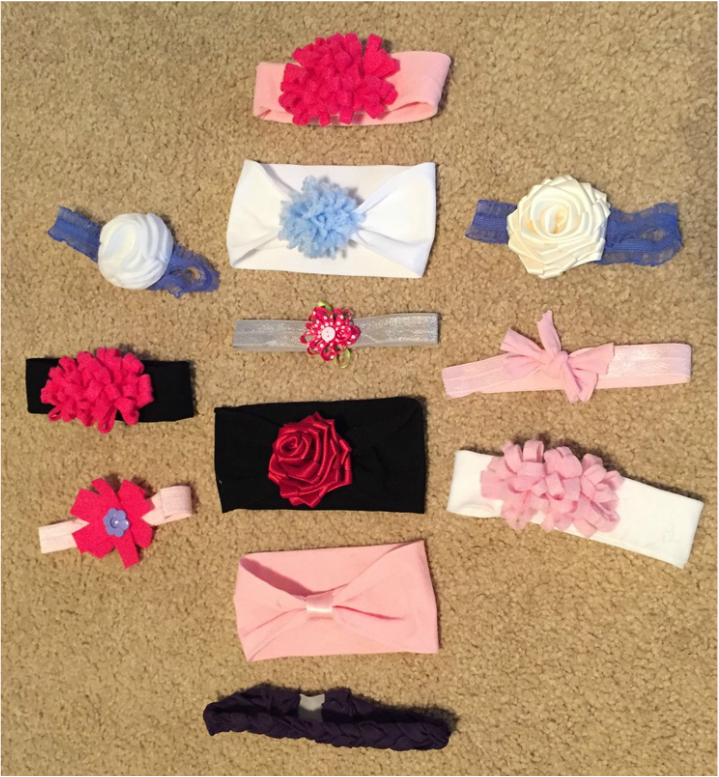
In this post, I will show you one type of headband and two types of flowers. The rest of the headbands were a combination of cute elastic bands and felt or ribbon flowers that we mixed up.
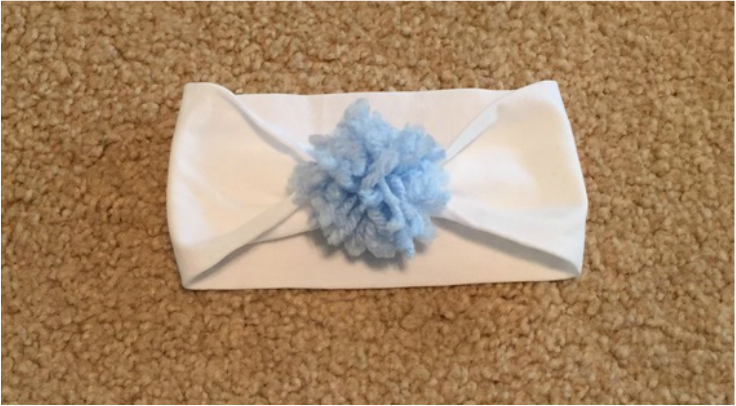
I will start with the Carolina blue and white pom pom band. The materials list is below.
We got together with a big stack of crafts and a few choice Pinterest tutorials and came up with a few different ideas.
In this post, I will show you one type of headband and two types of flowers. The rest of the headbands were a combination of cute elastic bands and felt or ribbon flowers that we mixed up.
I will start with the Carolina blue and white pom pom band. The materials list is below.
Materials:
- Tights (We used 2T-3T kids tights for newborn headbands)
- Needle and thread
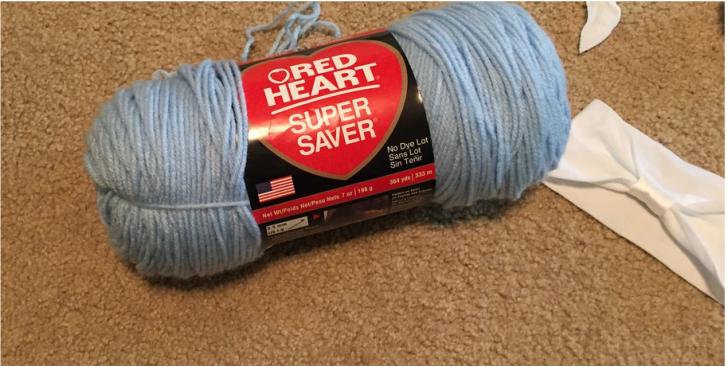
- Yarn
- Scissors
- Ribbon (Optional)
- Glue gun (Optional)
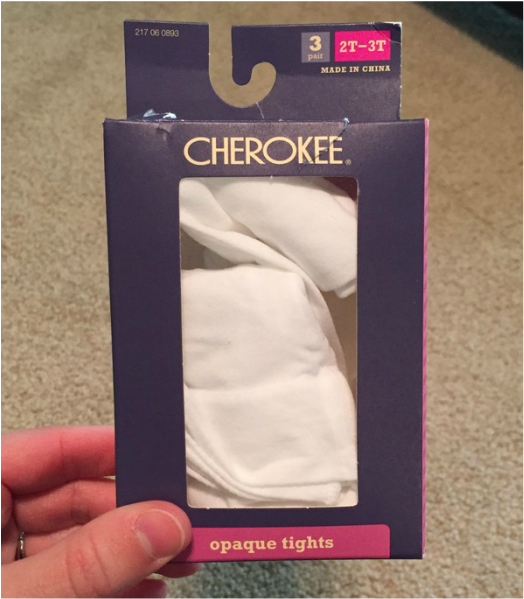
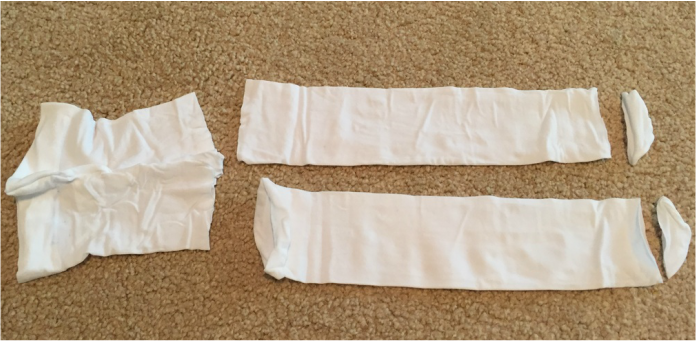
Remove the tights from the box and stretch them out.
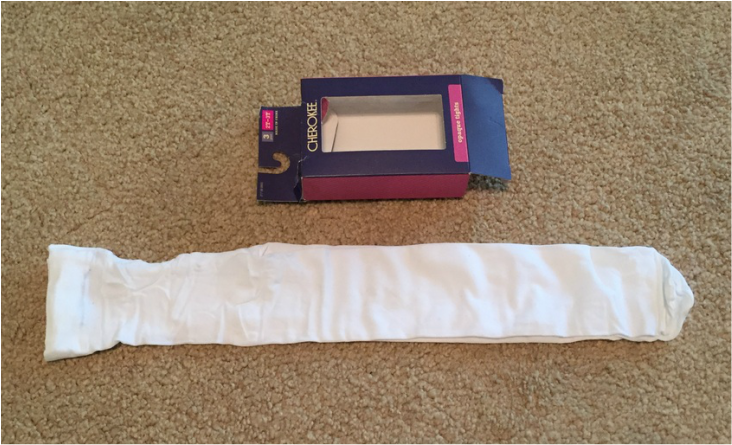
Cut the legs off at the top where they come together and the bottom where the toes close.
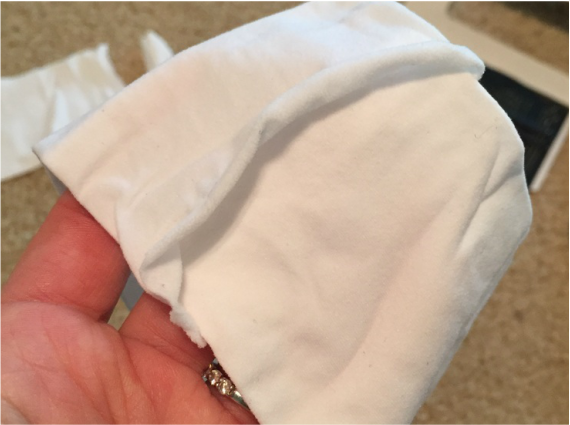
Take one of the legs and tuck one end into the other.
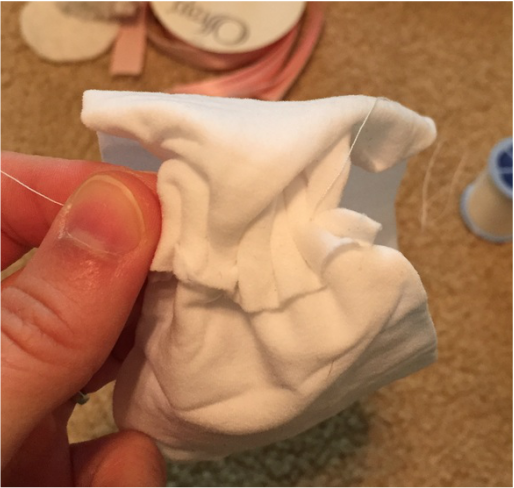
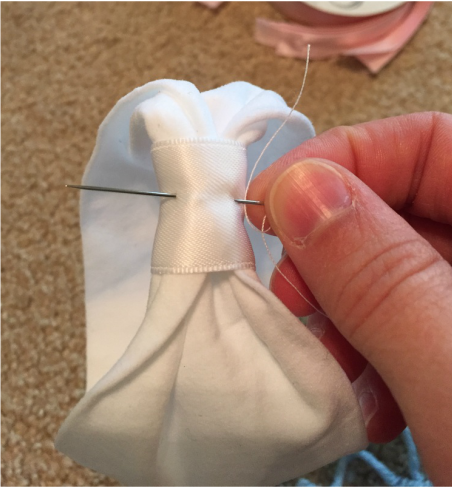
Then thread your needle and start by tying a knot at one end of your tights overlap.
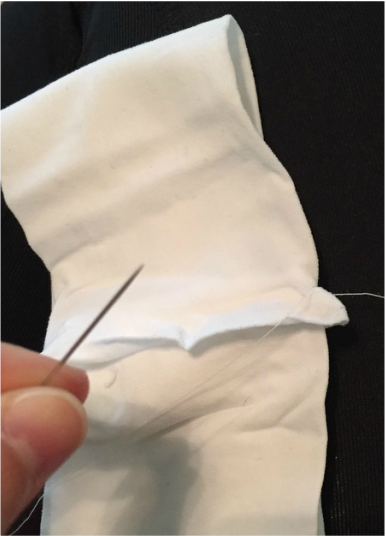
Sew a simple line to secure the end of your tights together.
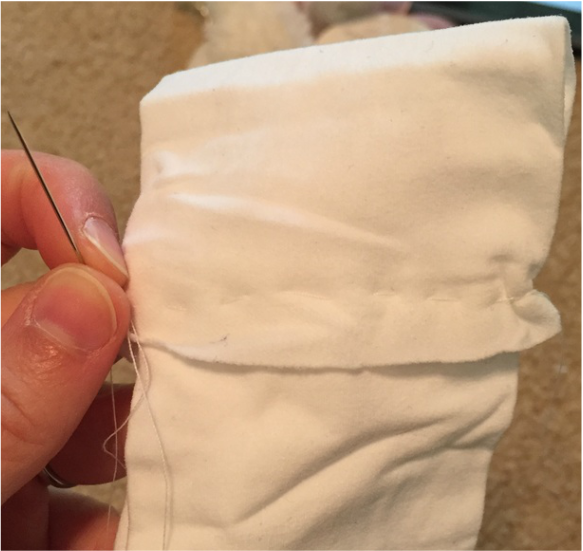
Pull the thread through to scrunch up the fabric.
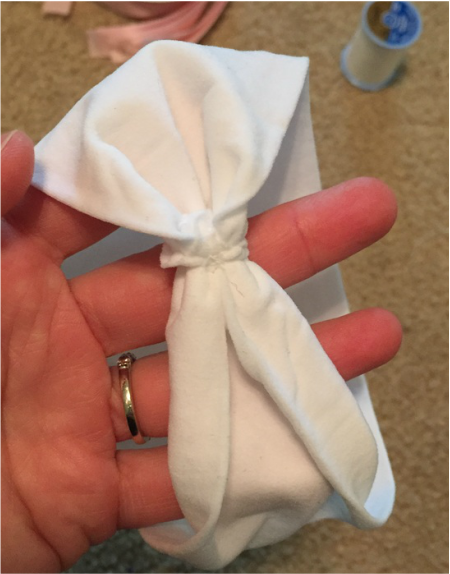
Wrap the excess thread around your scrunched part and tighten it up. Then tie off the ends of the thread to secure everything.
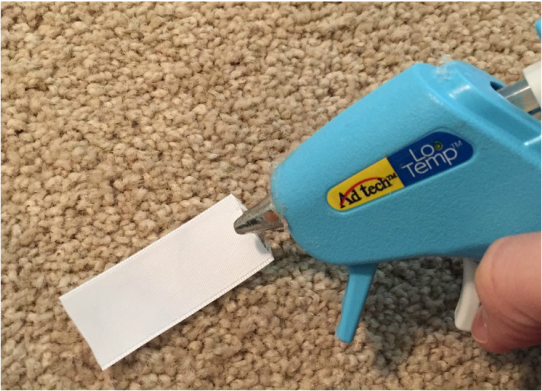
Optional: Cut a small piece of matching ribbon and use a glue gun to dab some hot glue on one end.
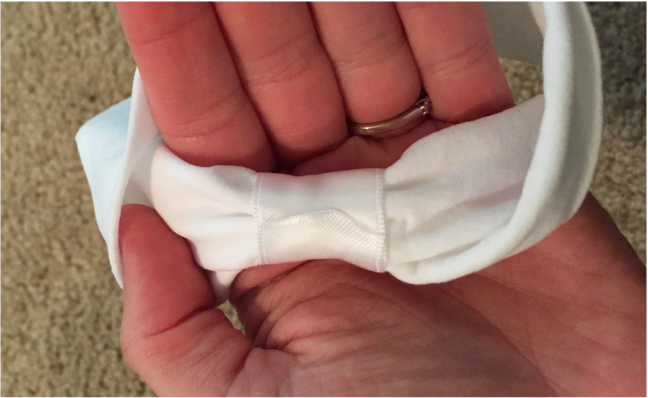
Wrap the ribbon around the sewed portion of the band and secure it with another dab of hot glue.
Pick your yarn color. This one is for all my Carolina friends. You know who you are.
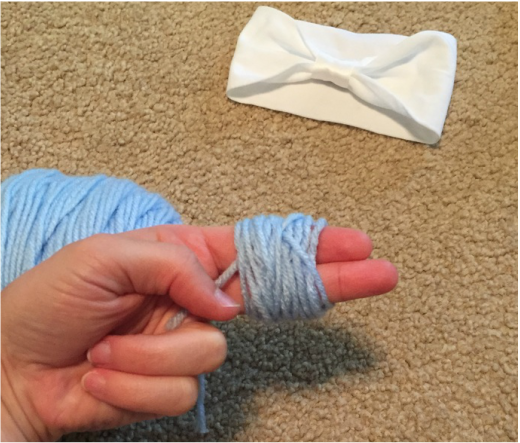
Wrap the yarn around your fingers 15-20 times.
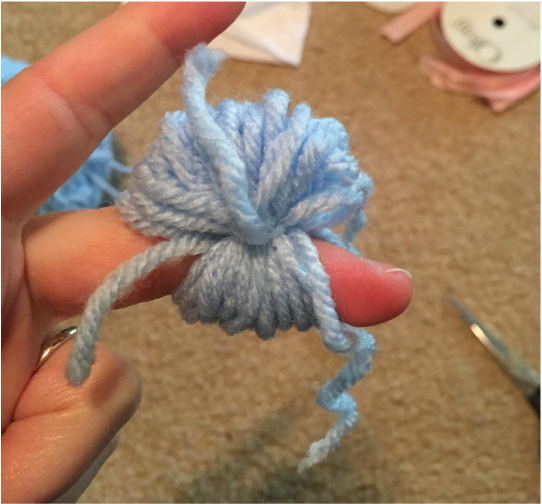
Cut another small piece of yarn and pull it through the space in your fingers and tie it around the middle of the ball of yarn.
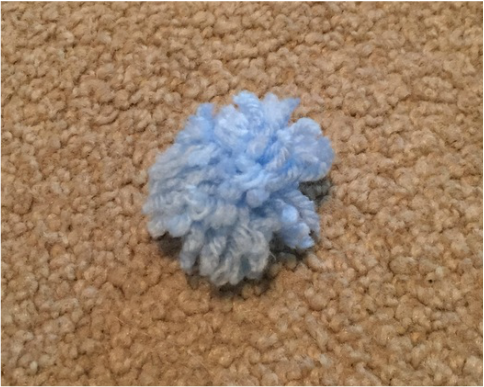
Cut the loops at the top and bottom of the ball and ruffle it up. Trim any pieces that are longer than the others.
Thread your needle again and push it through the part of your band where you glued the ribbon.
Use the needle and thread to sew the pom pom onto the band. Tie off the threads when you're finished.
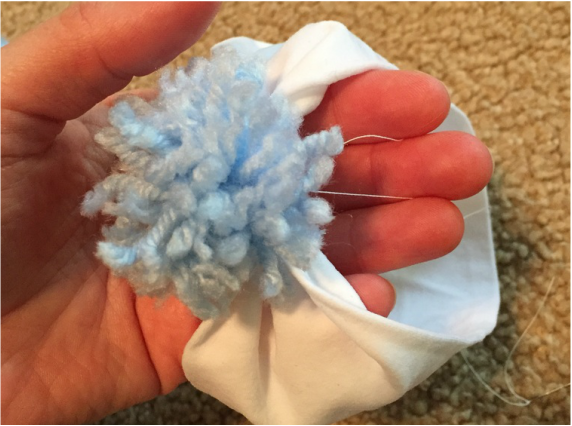
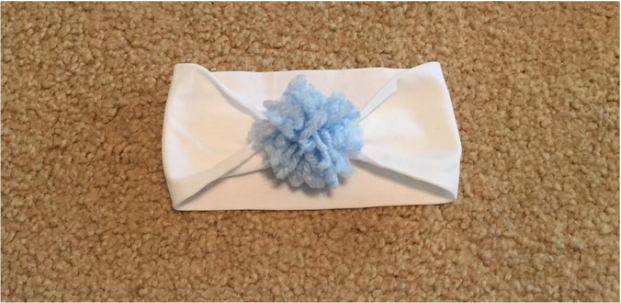
And done!
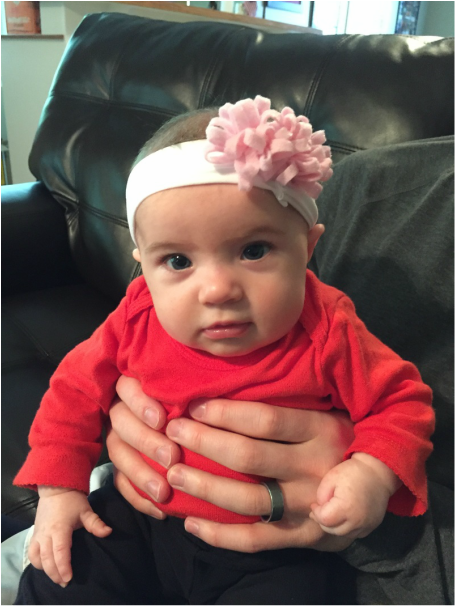
For the second headband, I was able to secure a model. Even managed to get her to look at the camera for a change.
We'll call this headband the felt flower band. The materials list is below.
We'll call this headband the felt flower band. The materials list is below.
Materials:
- Tights
- Needle and thread
- Felt
- Scissors
- Ribbon (Optional)
- Glue gun
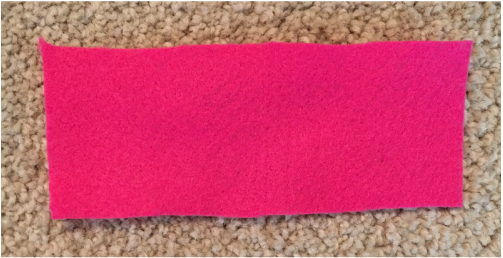
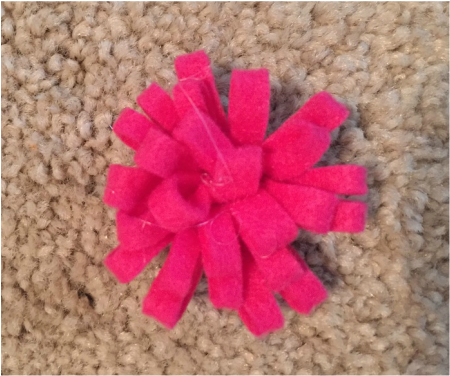
Start by cutting a rectangle of felt. The size of the rectangle can be determined by the size of the flower you want.
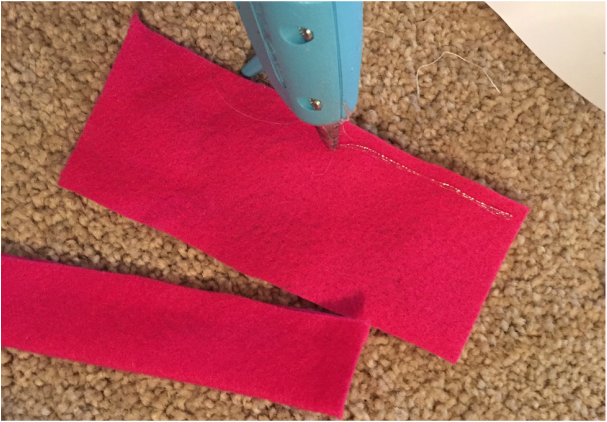
Use the glue gun to squeeze a line of glue along the bottom (or top) of the long side of your felt rectangle. Then fold the piece over on itself and press the edges together.
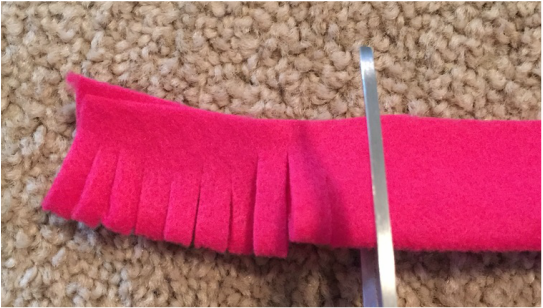
Use the scissors to cut lines through the folded part of the felt.
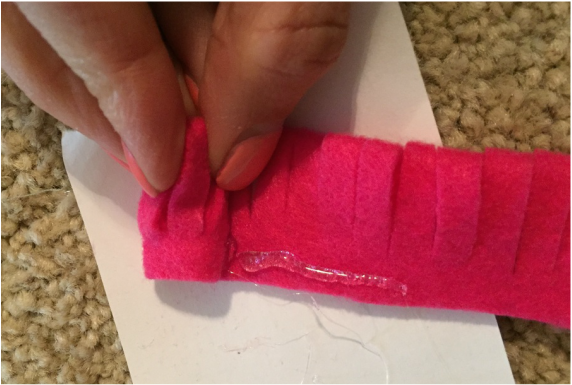
Then put another line of hot glue on the non-cut part of the felt and roll the piece in on itself.
Splay the felt loops out to create the flower look. For this project, we made two flowers of the same color.
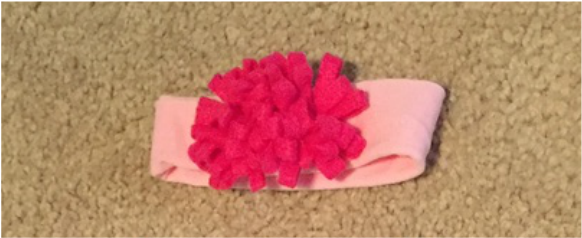
Use the glue gun to glue the back of the flowers to your band. For this particular band, we used the same method as the first one, but we folded the tights once to make it thinner.
All done!
All done!
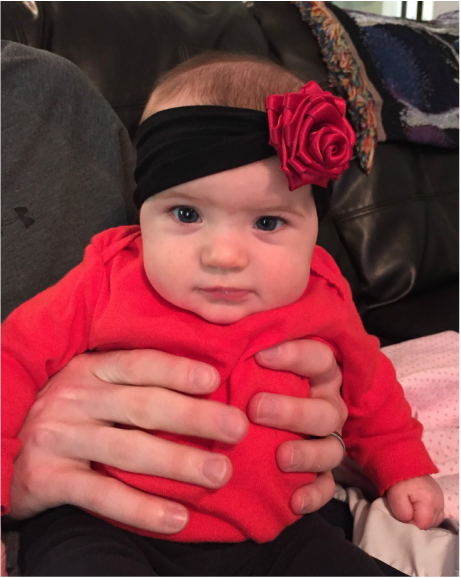
We made a few other headbands during our craft session. I had a few leftover ribbon roses from my wedding that I glued to some of the tights. They were a little big but still adorable. Nothing like a giant flower on a small baby to dial up the cuteness.
I leave you with this...
I leave you with this...
 RSS Feed
