Today's post is another quick furniture makeover.
I'd been looking for a table that I could put in the kitchen to decorate an awkward corner. With the space being dominated by floor to ceiling windows, there wasn't much I could really do with it. More storage would have been great, but I couldn't put anything solid in front of the windows without it looking weird. So I decided to go with a small table that I could eat at or work on some of my cake projects.
I was actually in search of a cocktail table. I wanted something tall and round that wouldn't take up a lot of space. Of course, what I initially picture, and what I generally end up with, often vastly differ. As is the case with this project.
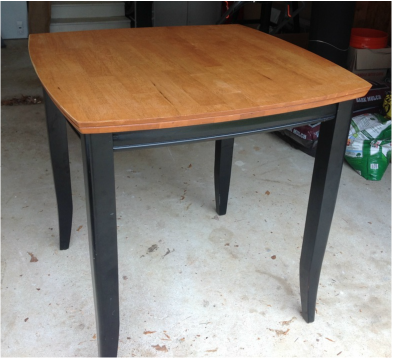
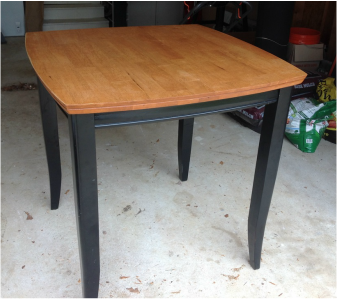
I found this particular table at, surprise!, a thrift store. It was a little beat up, and not the color I wanted, but it had good bones and fit quite nicely into the space.
I'd been looking for a table that I could put in the kitchen to decorate an awkward corner. With the space being dominated by floor to ceiling windows, there wasn't much I could really do with it. More storage would have been great, but I couldn't put anything solid in front of the windows without it looking weird. So I decided to go with a small table that I could eat at or work on some of my cake projects.
I was actually in search of a cocktail table. I wanted something tall and round that wouldn't take up a lot of space. Of course, what I initially picture, and what I generally end up with, often vastly differ. As is the case with this project.
I found this particular table at, surprise!, a thrift store. It was a little beat up, and not the color I wanted, but it had good bones and fit quite nicely into the space.
Since I already had two stools sitting in the corner of my garage that would fit perfectly under the table, I decided that even though it wasn't the shape and size I originally wanted, it would probably end up working out even better in terms of functionality.
I started by separating the top of the table from the bottom. The black portion was too dark for my kitchen, and the light wood tabletop color clashed with my dark hardwood floors.
I started by separating the top of the table from the bottom. The black portion was too dark for my kitchen, and the light wood tabletop color clashed with my dark hardwood floors.
 | 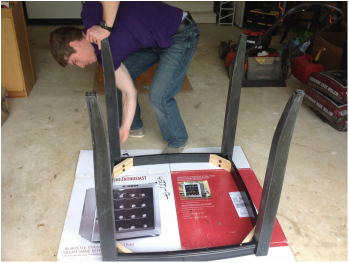 Hubby helping sand while I take pictures |
After hubby and I sanded the bottom, I used two layers of primer. I covered that with two layers of white paint. I used the same paint I bought for the cabinets and the hutch so it would all match nicely. I don't experiment with too many crazy colors. I really like my neutrals. I prefer to bring the color in with decorations.
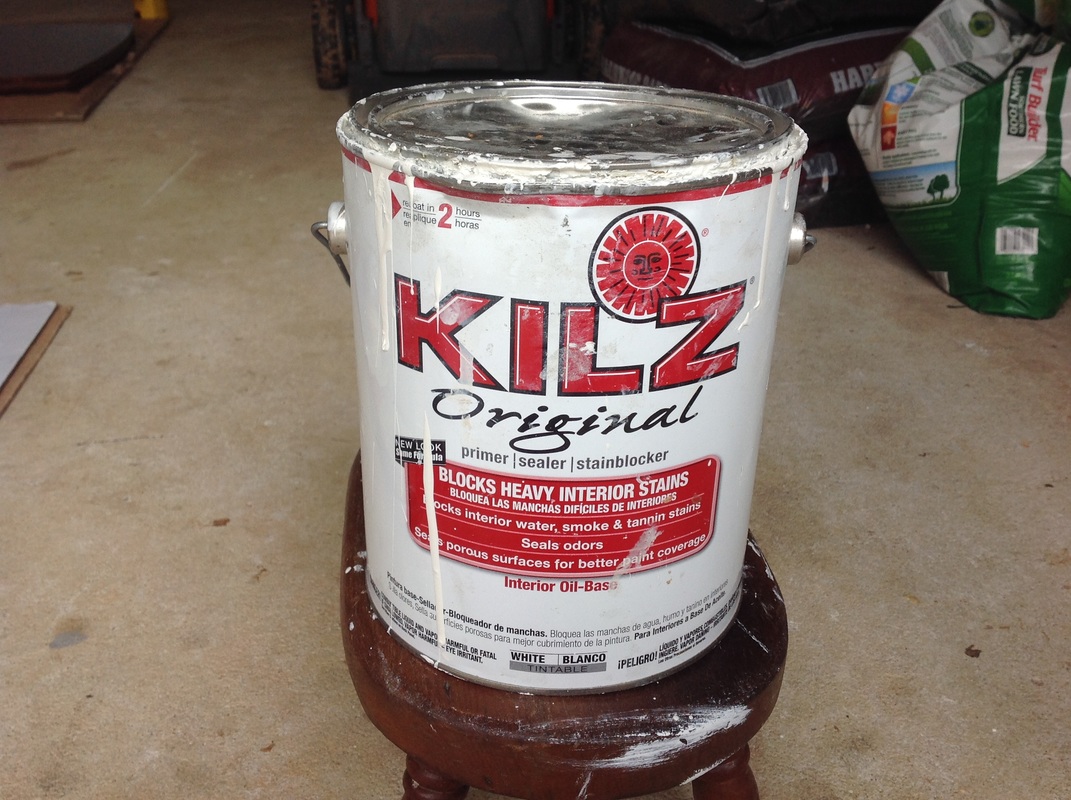 This is the primer I use for most everything | 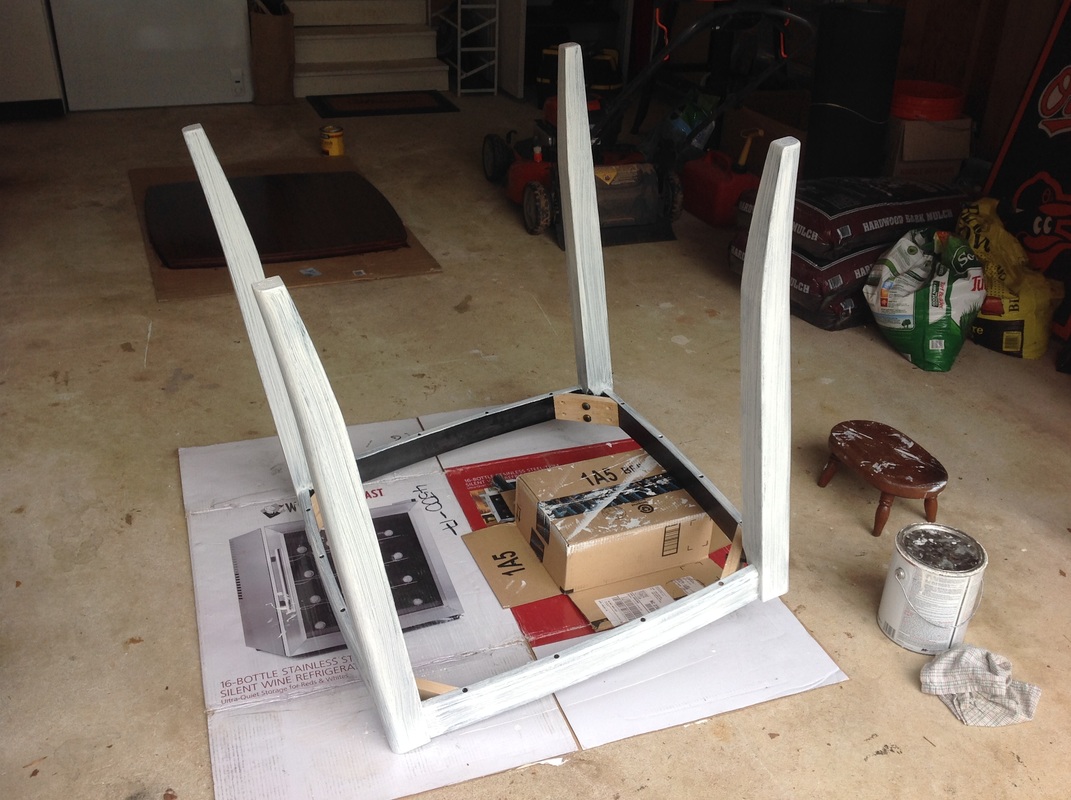 |
For the top portion, I decided to stain the wood. This step proved A LOT harder than I thought it would be. The existing tabletop had a thick clear coat on it. It was very waxy, and after many attempts, I was not able to sand it with any luck. So I turned to the pro stripper. Yup, that's right, I used a pro stripper to help me get the job done.
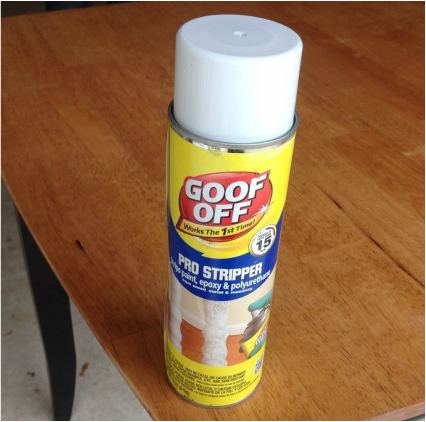
Get your mind out of the gutter
I sprayed the stripper onto the tabletop and spread it as evenly as possible. I allowed it to set for 15 minutes, and then I used a drywall scraper to remove the layer of gunk from the wood. It took several tries and it was messy, exhausting, and frankly, a pain.
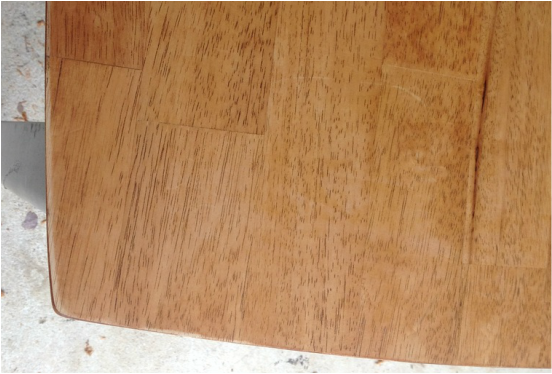
This is what it looked like after being stripped
However, once it was done, most of the scratches and marks from the original tabletop were gone. My next step was to stain it a darker color. That is where I made my first mistake. I didn't leave enough time in between steps for the wood to fully dry out, and I didn't sand it at all either. I wish I had done both of those things. Lesson learned.
I used a sponge brush to start brushing layers of stain onto the surface. I used the same walnut stain that I used for the tabletop on my kitchen hutch. And here's where my mistake made my job a little tough. Since the surface didn't seem to be dry enough, and I hadn't sanded it at all, the stain did not soak into the wood like I was expecting it to. Instead, it separated and bubbled up a little. Kind of like rain rolling off your windshield. I panicked a little. Ok, I panicked a lot. I should have just wiped it all off and waited for it to dry, but I was not thinking clearly. So I just kept applying more and more layers of stain until it finally started soaking in a little. But by then my lines were crooked and everything just looked a little off. The good news was that this particular piece was going in the corner of my kitchen and would be decorated with items. So I really wasn't all that concerned if it didn't look perfect.
I used a sponge brush to start brushing layers of stain onto the surface. I used the same walnut stain that I used for the tabletop on my kitchen hutch. And here's where my mistake made my job a little tough. Since the surface didn't seem to be dry enough, and I hadn't sanded it at all, the stain did not soak into the wood like I was expecting it to. Instead, it separated and bubbled up a little. Kind of like rain rolling off your windshield. I panicked a little. Ok, I panicked a lot. I should have just wiped it all off and waited for it to dry, but I was not thinking clearly. So I just kept applying more and more layers of stain until it finally started soaking in a little. But by then my lines were crooked and everything just looked a little off. The good news was that this particular piece was going in the corner of my kitchen and would be decorated with items. So I really wasn't all that concerned if it didn't look perfect.
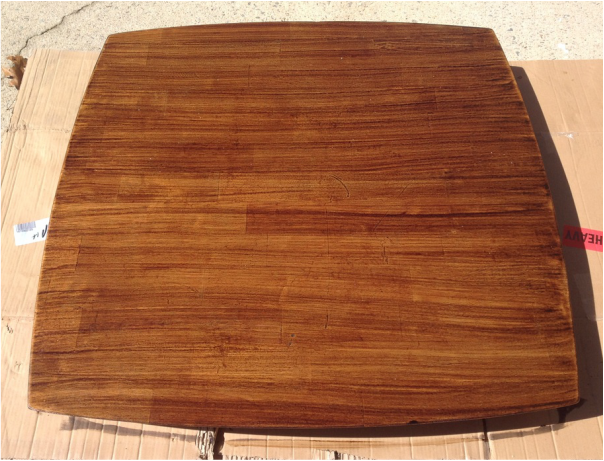
Not perfect, but at least it was the color I wanted
After I let the stain dry, I applied a few layers of polyurethane. It wasn't the perfect tabletop, but at least I learned from my mistake, and so can you!
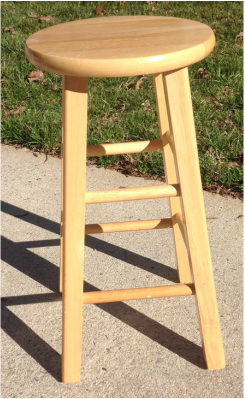
I reassembled the table. Once I had it all screwed back on, I started in on the stools. They were just your basic wooden stools. I decided to just paint them white and call it a day. I wanted to stain the tops of them the same color as the top of the table. But after the fiasco with the pro stripper and the not ideal staining situation, I opted for the easier route.
I reassembled the table. Once I had it all screwed back on, I started in on the stools. They were just your basic wooden stools. I decided to just paint them white and call it a day. I wanted to stain the tops of them the same color as the top of the table. But after the fiasco with the pro stripper and the not ideal staining situation, I opted for the easier route.
 | 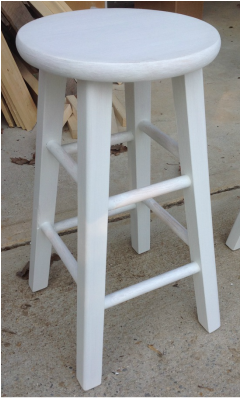 |
I used two layers of primer and one layer of white paint. At one point, I tried to get creative and paint the top a different color, but then I hated it and covered it up with white again. It's all about the neutrals.
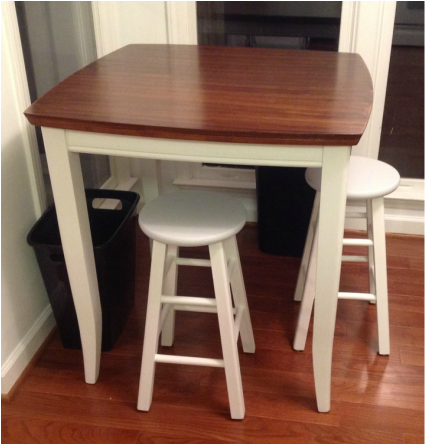
After everything was dry, I placed my "new" furniture in the kitchen. I'm always so much happier with my projects when they've been placed in the house. For some reason, the flaws just don't look as significant when they are surrounded by the rest of my possessions. Out in the garage and driveway with the sun shining directly on them, they always seem less impressive. Remember that if you tend to be to hard on yourself.
After everything was dry, I placed my "new" furniture in the kitchen. I'm always so much happier with my projects when they've been placed in the house. For some reason, the flaws just don't look as significant when they are surrounded by the rest of my possessions. Out in the garage and driveway with the sun shining directly on them, they always seem less impressive. Remember that if you tend to be to hard on yourself.
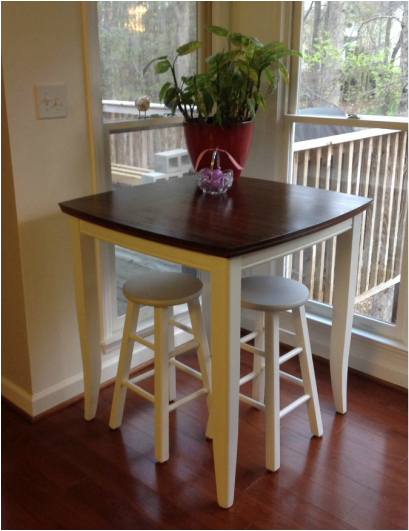
My sad, dying plant in the corner is a different story
I've included a materials list and quick step recap below for those of you who want to try something similar.
| Materials: Table Stools Primer Paint Goof Off Pro Stripper Brushes Sander/Sandpaper Screwdriver/Power Drill Stain Polyurethane | Step Recap: 1. Remove tabletop from bottom 2. Paint bottom with 2 layers primer 3. Paint bottom with 2 layers paint 4. Strip waxy residue from surface 5. Wait for surface to dry then lightly sand 6. Stain surface until desired color 7. Apply several layers of polyurethane 8. Paint stools with 2 layers primer 9. Paint stools with 2 layers paint 10. Reassemble the table parts 11. Place and decorate! |
 BEFORE | 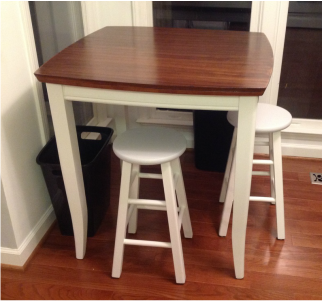 AFTER |
 RSS Feed
