Ok, so “Dream Dining Room” is a little bit of an exaggeration. I do NOT have my dream dining room… yet. But I am a lot closer to it than I was.
Dining rooms are difficult. At least in my house, it’s the room we spend the least amount of time in. Granted, both my family and my husband’s family are back in Baltimore, and we don’t have any children yet. So we have no reason to use our dining room table. In fact, the most use it ever gets is from my cake projects. So there is really no reason for us to go out and spend thousands, or even hundreds, of dollars on dining room furniture. That being said, my Ikea table and chairs just wasn’t cutting it anymore. It served its purpose all through my 20s, but now, with my new hardwood floors, and spiffy paint job, it looked… tired… and cheap.
Dining rooms are difficult. At least in my house, it’s the room we spend the least amount of time in. Granted, both my family and my husband’s family are back in Baltimore, and we don’t have any children yet. So we have no reason to use our dining room table. In fact, the most use it ever gets is from my cake projects. So there is really no reason for us to go out and spend thousands, or even hundreds, of dollars on dining room furniture. That being said, my Ikea table and chairs just wasn’t cutting it anymore. It served its purpose all through my 20s, but now, with my new hardwood floors, and spiffy paint job, it looked… tired… and cheap.

Ikea Table and Chairs
Like most of our house, our dining room is small. There just isn’t enough room for a table that seats 12 people, or even 8. However, the dining room is visible from our front door, so we did need an upgrade. I decided to go the economic way and just do an Ikea table makeover.
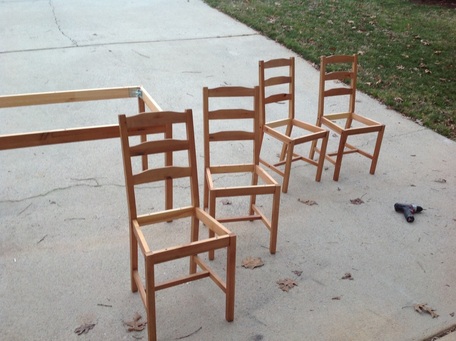
I did some Pinterest research and came up with a plan. I started by removing the seats of the four chairs and the top of the table. I just unscrewed them all and set aside the hardware. I used a walnut stain I had laying around the garage to stain the tops of each of the seats and tabletop. I didn’t bother to do the underside, because let’s face it… I’m lazy.
I did some Pinterest research and came up with a plan. I started by removing the seats of the four chairs and the top of the table. I just unscrewed them all and set aside the hardware. I used a walnut stain I had laying around the garage to stain the tops of each of the seats and tabletop. I didn’t bother to do the underside, because let’s face it… I’m lazy.
 | 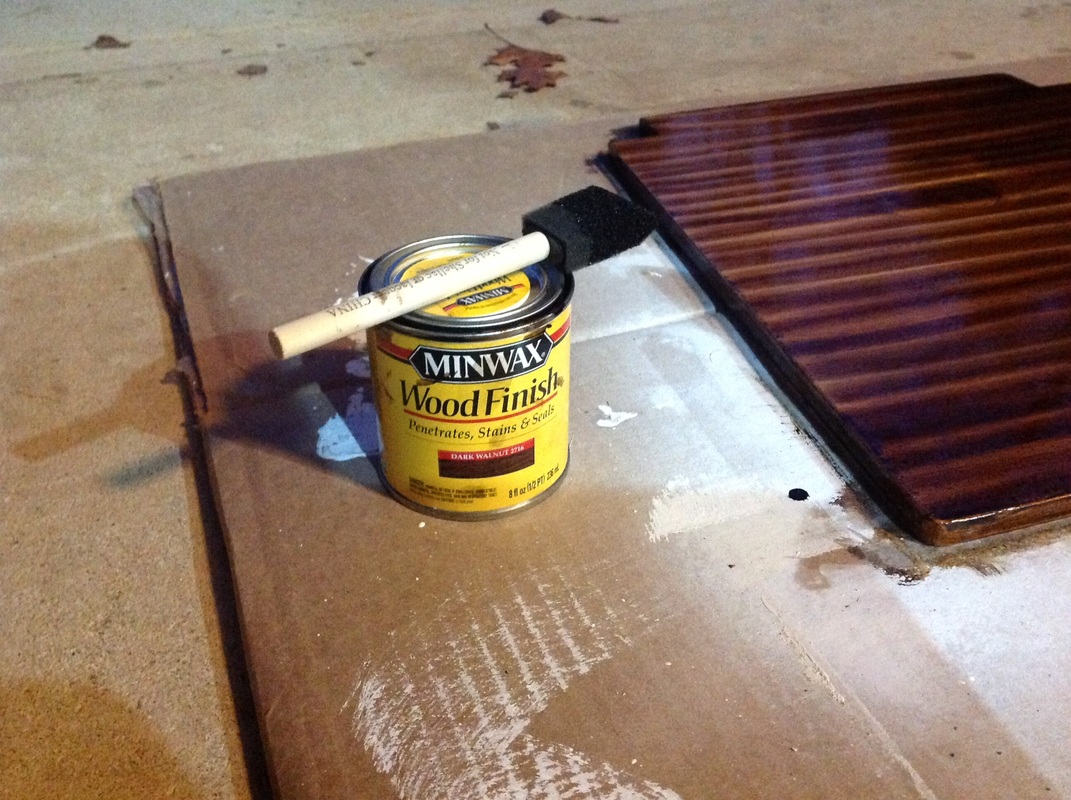 |
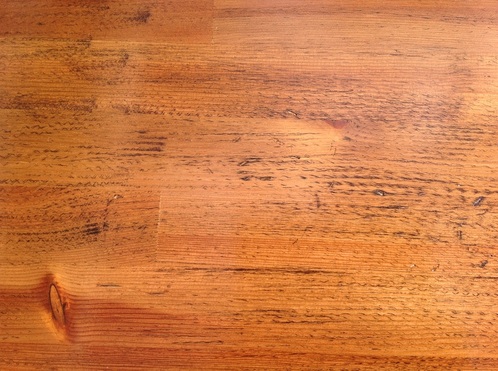
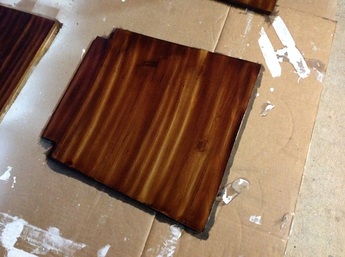 One layer of stain | 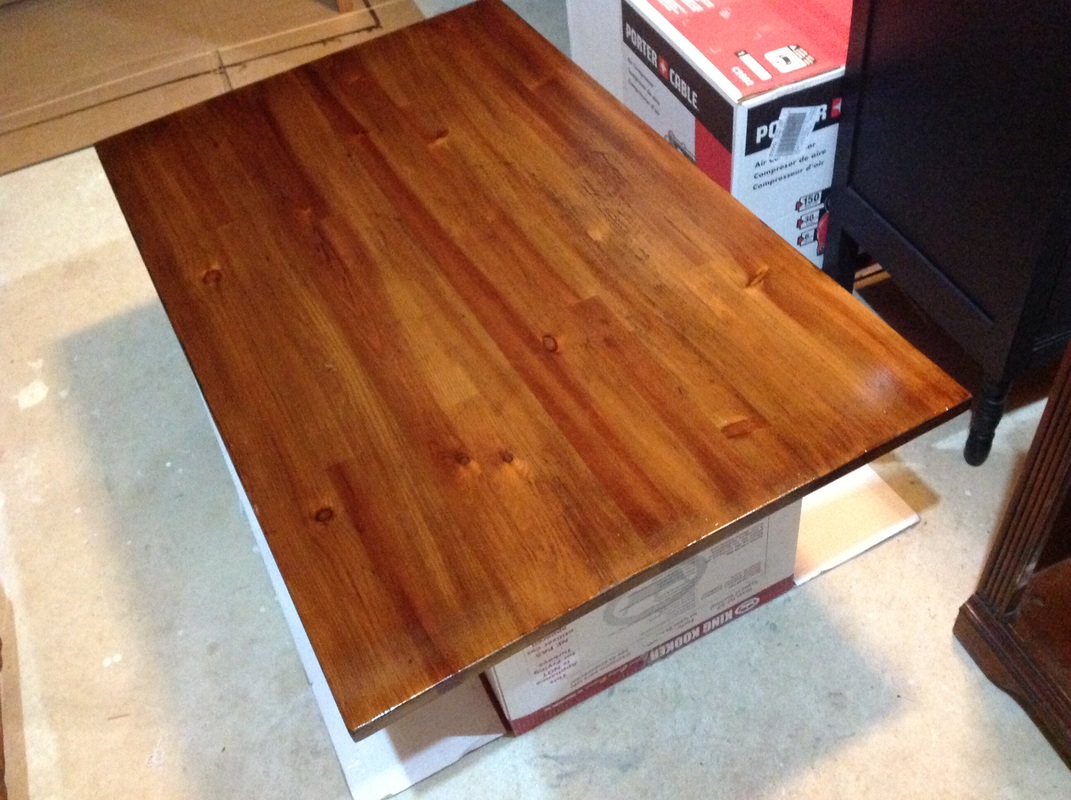 One layer of stain |
While those were drying, I applied a layer of white primer to the chair and table frames. I didn’t even bother sanding the frames first. I read somewhere on Pinterest that the primer I was using could be painted right on to Ikea furniture. I did sand before applying another coat of primer. Once I was done with the primer, I applied a coat of polyurethane to the seats and tabletop. Then things got a little crazy…
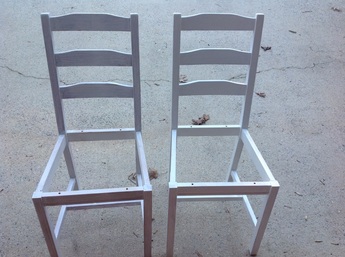 One layer of white primer | 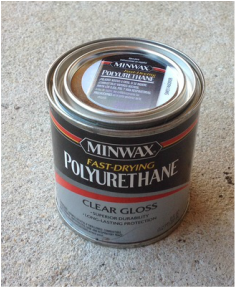 Clear coat for the wood stain |
I decided to use this opportunity to try out a new toy. My Critter Spray Products Siphon Gun. Yup, I bought a paint sprayer. I bought it on Amazon and went to Lowes to purchase an air compressor and the parts I needed. I am not sure why I pictured a paint sprayer as my knight in shining armor, but I did. I actually thought that I was going to pour some paint into a mason jar, hook a hose up to it, and flawlessly finish my paint project in a matter of minutes. WRONG!!! Always wrong!!!
First of all, the instructions that came with the sprayer were insufficient for my purposes. Clearly, spraying paint was not the only thing you could do with this product, and so there were no steps outlining how I would go about creating the perfect paint mist to cover a dining room table and chairs. Ugh!
I had to make two extra trips to the hardware store just to figure out the pieces I needed in order to hook the siphon gun up to the compressor. And if you’ve never used an air compressor before, you will probably have the same reaction I did, which was… “What the *BEEP*, why is it so LOUD!!!!” Yeah. Not my proudest moment. Long story short… the compressor was loud, the paint wasn’t spraying evenly, and the gun kept getting clogged. I managed to finish two layers of paint on the table and chairs in twice the time it would have taken me to just brush it on. But I did learn some valuable lessons about my new toy, and I do think I will be able to make some adjustments in the future.
After I finished the paint, I applied another layer of polyurethane on the seats and tabletop and let everything dry overnight. The next day I went about putting the top back on the table and the seats back on the chairs. I was SHOCKED by the results. Don’t get me wrong… it wasn’t something I would have purchased new for my dining room, but it was a HUGE improvement on the table I had. And it was the same one!
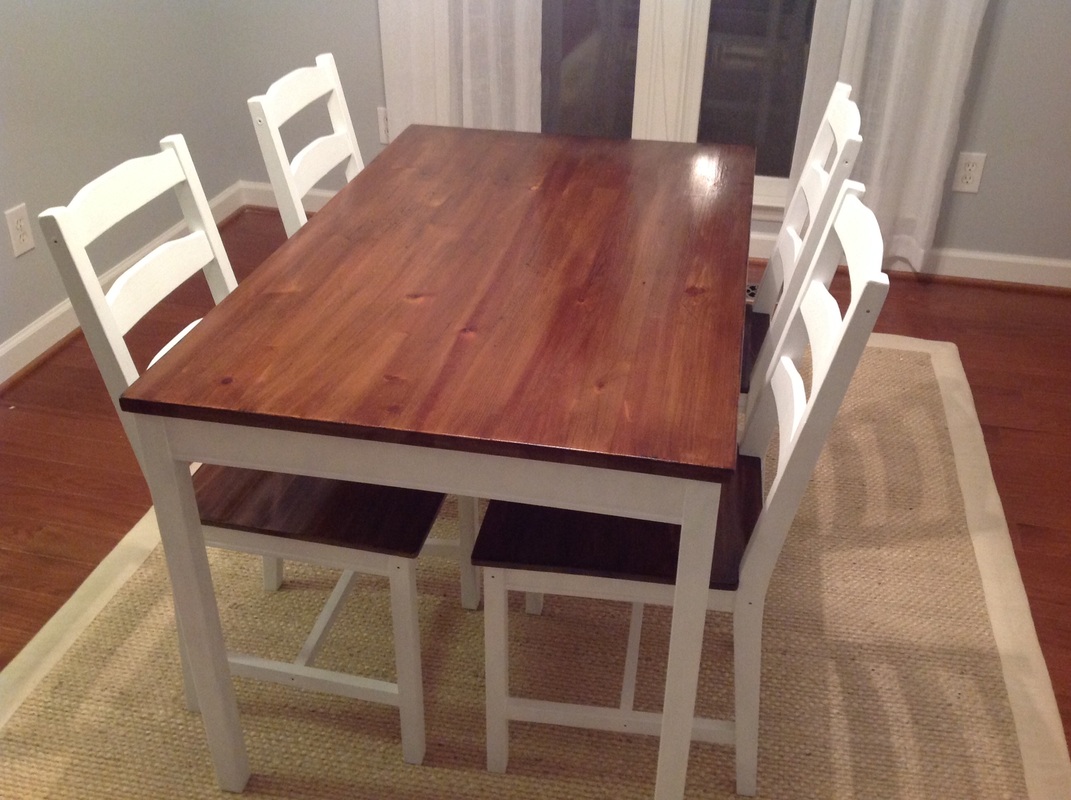
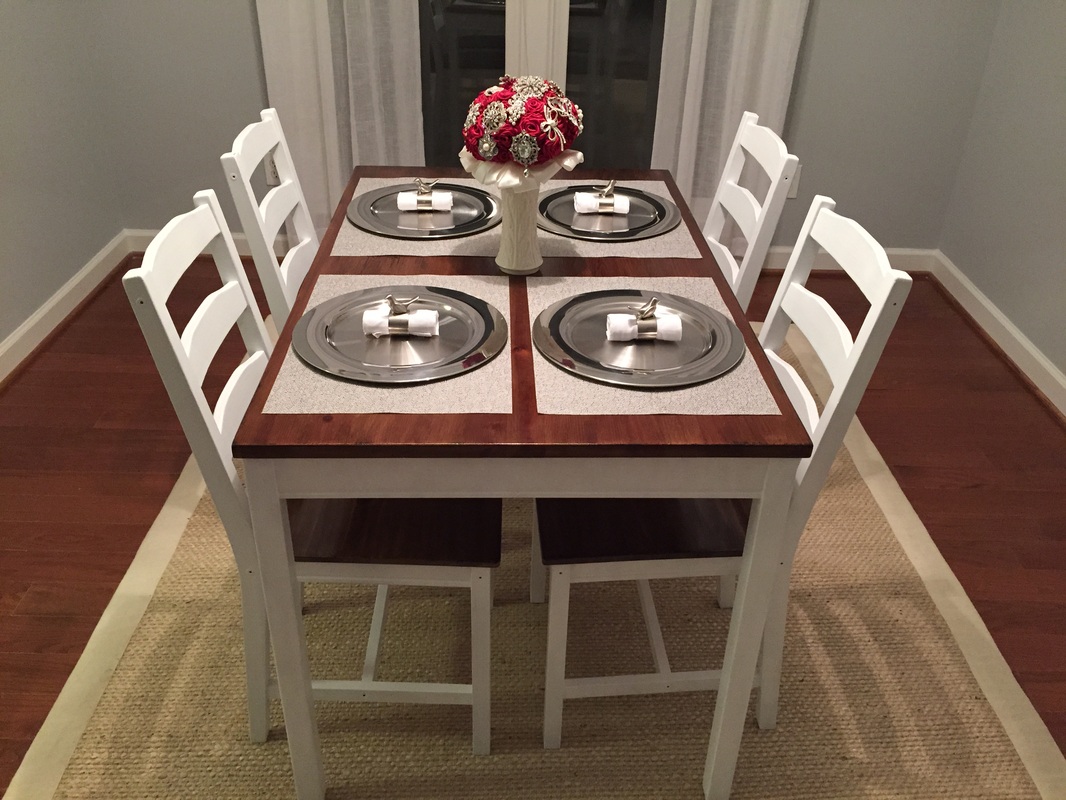
Minus the siphon gun and air compressor fiasco, the supplies to finish this project cost me next to nothing. I completed it with a couple of items I had in my garage. After I bought a rug and put some place settings out, I was completely satisfied with the result. Now I just need a bookcase and a sideboard or buffet table. Future projects!!!
Materials List:
Table and Chairs (Ikea Jokkmokk)
Primer
Paint
Stain
Polyurethane
Paintbrushes
Sandpaper
Step Recap:
1. Remove the tabletop and the seats of the chairs
2. Stain the seats and tabletop with one layer of your choice of stain
3. Paint two layers of primer on the chairs and table base, sanding in between coats
4. Paint two layers of paint on the chairs and table base, sanding in between coats
5. Apply two layers of polyurethane to the seats and tabletop allows several hours of drying time between coats
6. Allow 24 hours drying time after the last coat of polyurethane
7. Assemble parts back together
8. Decorate and enjoy!
Note: I did sand the top of the table and the seats of the chairs before staining them. The sander I was using actually created marks on the table that couldn't be covered up. I thought it added age and character to the table, but if you're trying for a cleaner look, I would suggest hand sanding or not sanding.
 RSS Feed
