I'm not exactly sure when chalk paint made its debut, but it's taken the DIY world by storm. All sorts of traditional paint brands are making their own lines of chalk paint now. So when I started doing my due diligence, I wasn't really sure where to begin. So, naturally, I turned to the Pinterest "experts".
I expected to find reviews of the best brands. Instead, I kept finding recipe after recipe for DIY chalk paint. So my research officially ended right where it started. If all these other bloggers were making their own paint then I would too.
While some of the recipes varied in measurements, most of them had the same basic ingredients. So I decided to wing it and just started mixing and testing on my own. After a few attempts, I succeeded in establishing a mix that I liked. The recipe is below.
Chalk Paint Recipe:
1 Part Water
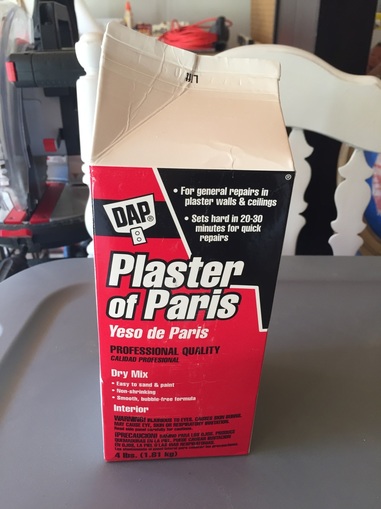
1 Part Plaster of Paris (Dry)
3 Parts Latex Paint
1 Part Water
1 Part Plaster of Paris (Dry)
3 Parts Latex Paint
Step-by-Step Instructions:
1. Mix the one part water and one part Plaster of Paris together thoroughly. Don't leave it idle for too long or it will start to set and get chunky.
2. Add three parts paint to the previous mixture and stir.
3. Paint!
1. Mix the one part water and one part Plaster of Paris together thoroughly. Don't leave it idle for too long or it will start to set and get chunky.
2. Add three parts paint to the previous mixture and stir.
3. Paint!
Tips and Tricks:
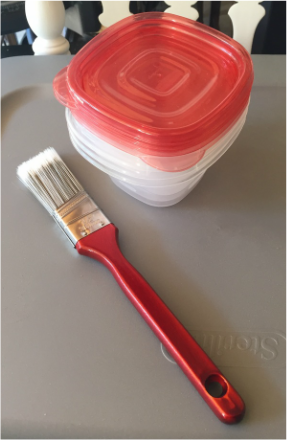
I use Popsicle sticks to mix the ingredients. I'm usually working with small quantities of paint and the normal paint sticks are just too big for the job.
I provided the recipe in parts rather than actual measurements. It's easier to scale your needs that way. Also, the last thing I want to do when painting is measure out paint and transfer it into several different containers. Totally unnecessary.
I like to use Tupperware containers when painting my furniture. They are small and easy to handle. They also have lids that can be snapped on to keep paint fresh for a few days so you can do several coats without making a new mix each time.
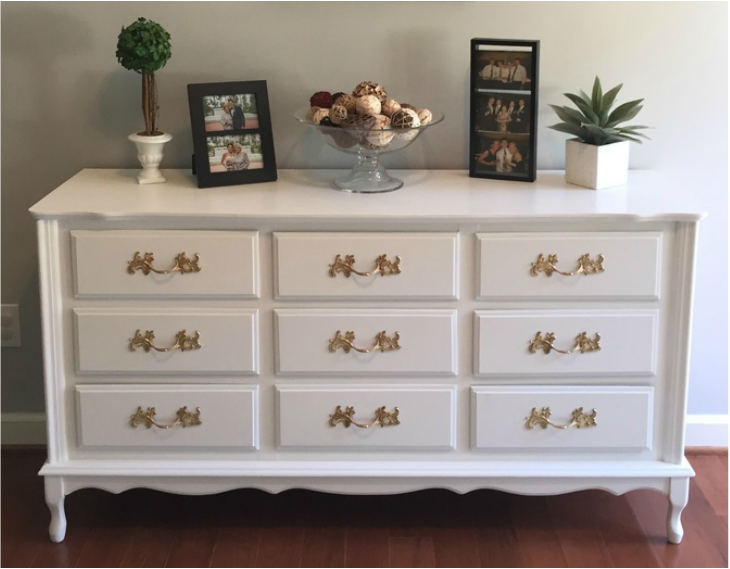
Hopefully this post will help you with your next furniture makeover. I used this recipe on my newly acquired French provincial dresser that I picked up from the local Goodwill, and I am very pleased with the results. Check it out here if you want to read the post.
 RSS Feed
