Craft CRIB
  • HOME
  • HOUSE PROJECTS
  • DIY CRAFTS
  • CUSTOM CAKES

French Provincial Dresser Makeover

6/21/2016

0 Comments

 
Picture
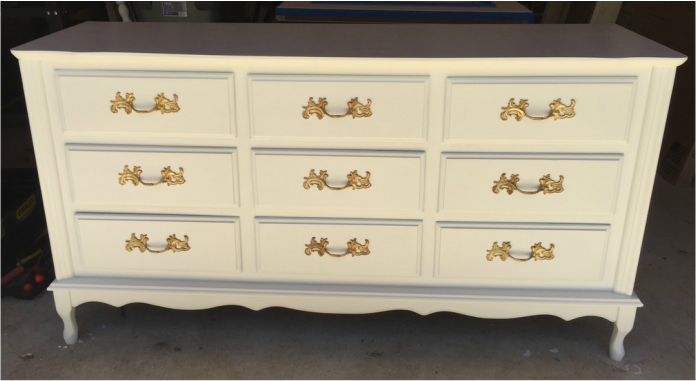
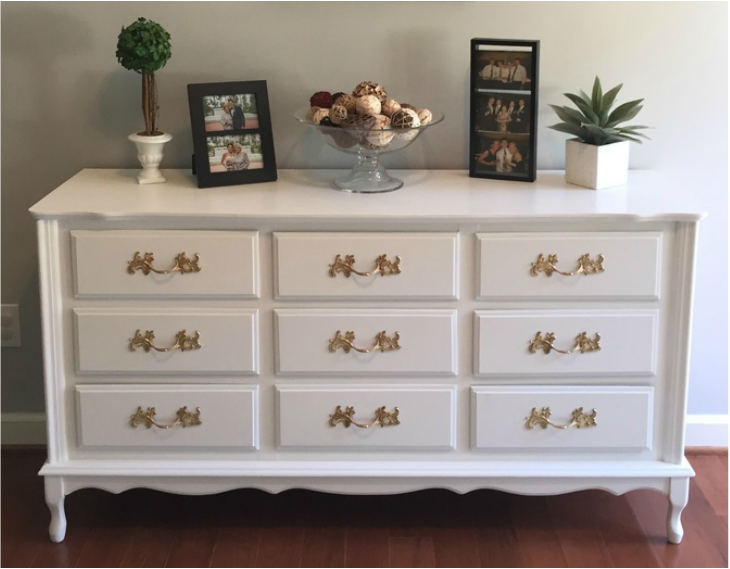
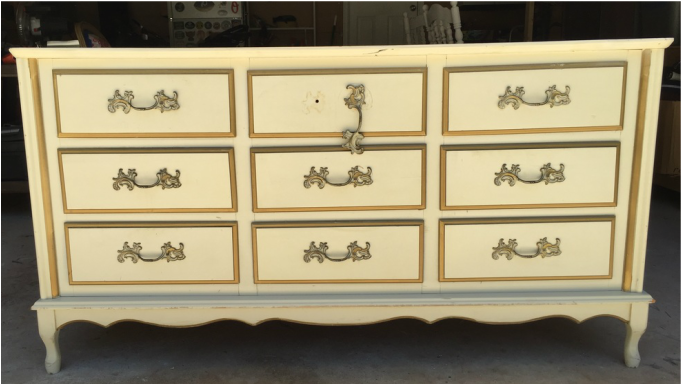
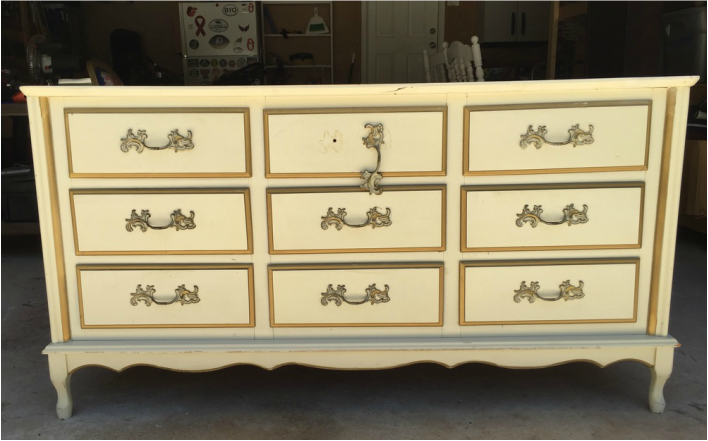
This is my favorite project to date!  I found this awesome French provincial dresser at my local Goodwill.  It was $80 and there was no way I was going to let it get away.  I had to put it on hold and come back for it when I didn't have the baby in the car.  It was totally worth it.
Picture
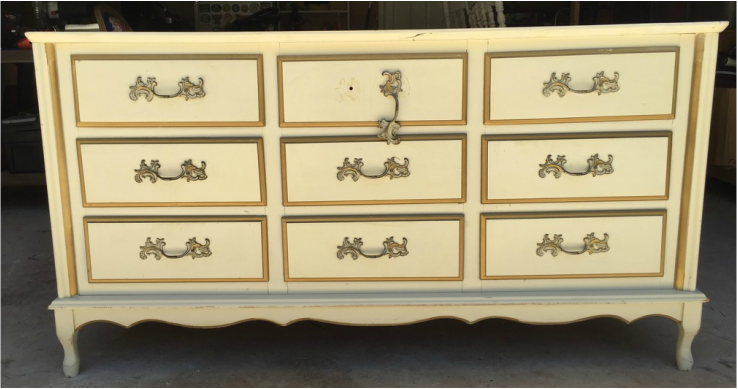
The dresser itself is in good shape.  There are a few scratches and some light wear and tear but great bones.  The paint job was a little dated.  The cream and gold just wasn't working for me.  So I decided to give it a new paint job and a hardware update.​

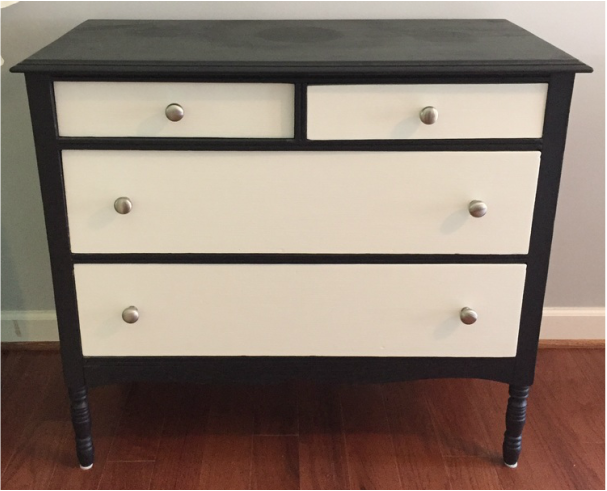
​I knew I wanted to paint the piece white.  I had the perfect spot for it in my living room.  It was to replace the old dresser that I updated a few years ago.  The black and white with the nickel knobs was cute, but I wanted something more glamorous.
Picture
I started by removing all the hardware and the drawers.  I settled on a basic, plain white latex paint, but I decided to make it into a chalk paint with my new Chalk Paint Recipe.  Once I'd mixed the paint, I applied it directly over the old paint job.  No sanding or prepping needed other than a light scrubbing with a damp cloth.
Picture
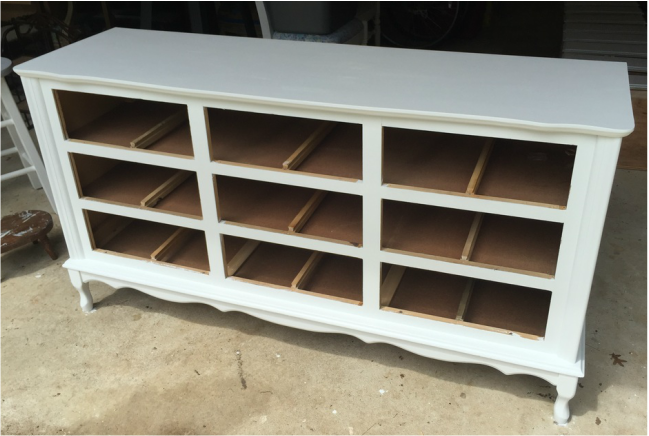
I did two layers of the chalk paint on the dresser and two layers on the drawers.
Picture
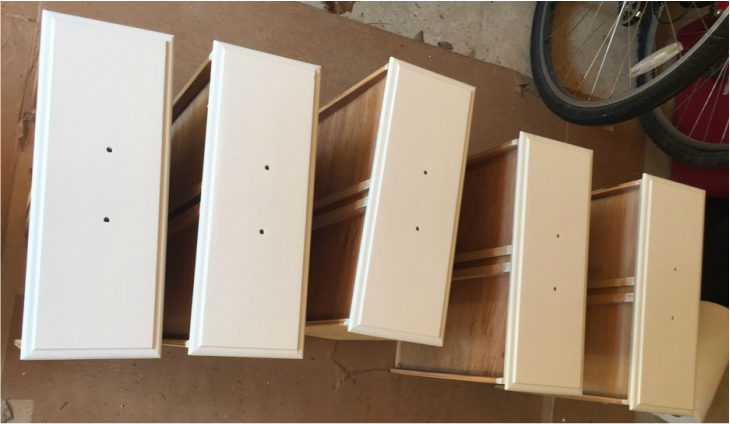
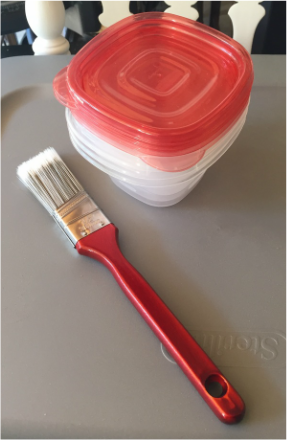
I let the paint dry overnight and then I applied a layer of paste finishing wax on the dresser and drawers.
Picture
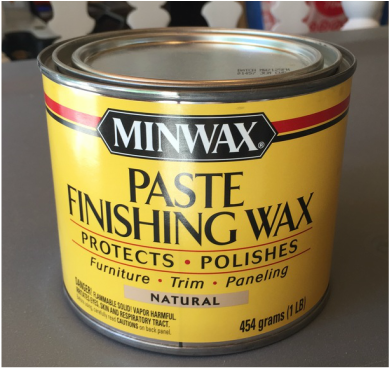
I followed the instructions on the back of the wax tin.  I buffed it on, waited 15 minutes, then rubbed it in.  

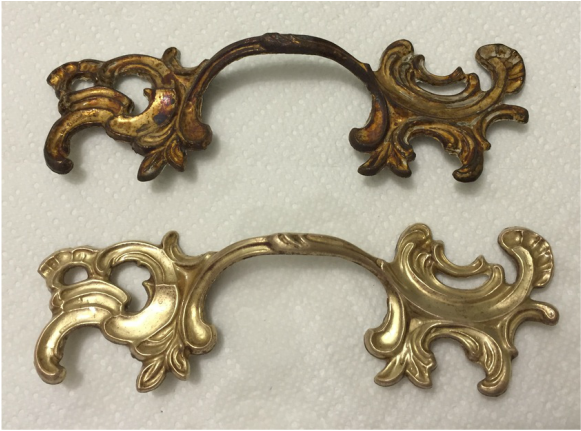
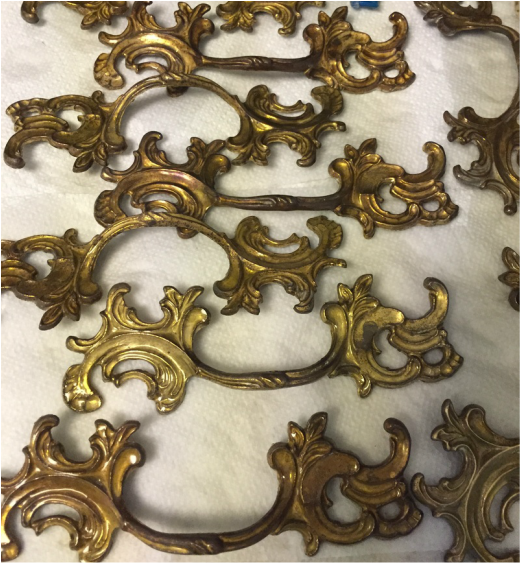
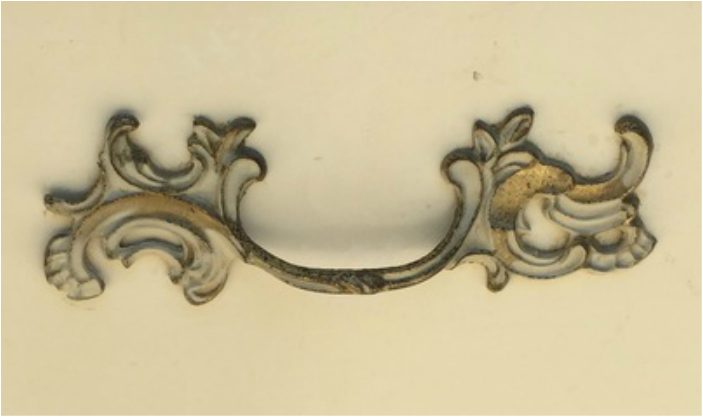
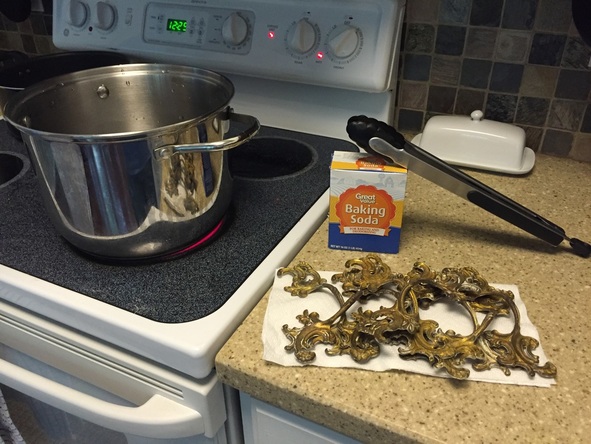
Once the paint job was done, I tackled the hardware.  At first, I planned to spray paint the handles.  They were really worn and had a layer of cream paint on them that looked like it would be impossible to remove.
Picture
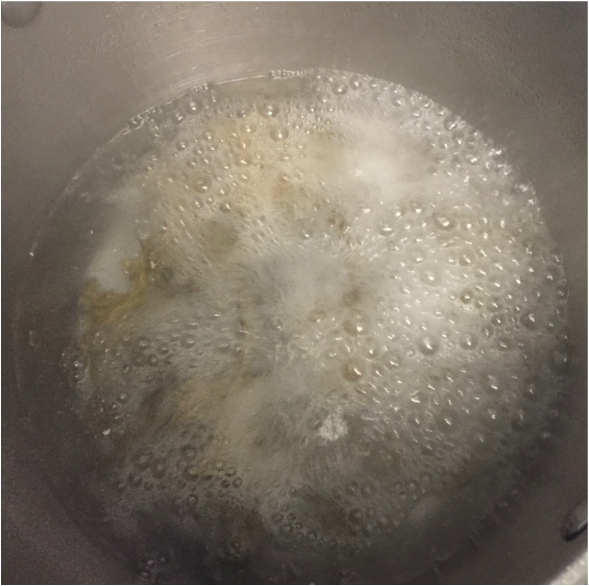
However, I read a few tutorials for removing paint from hardware and decided to give it a go.  It was actually really easy.  I created my own little tutorial for it here.

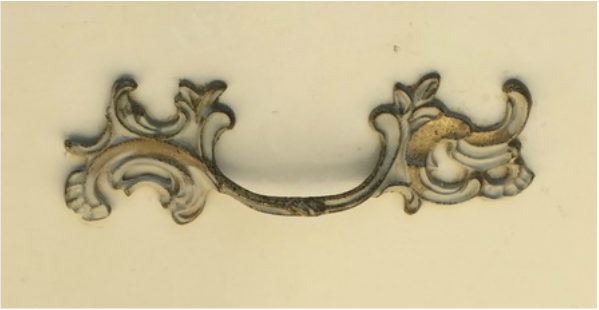
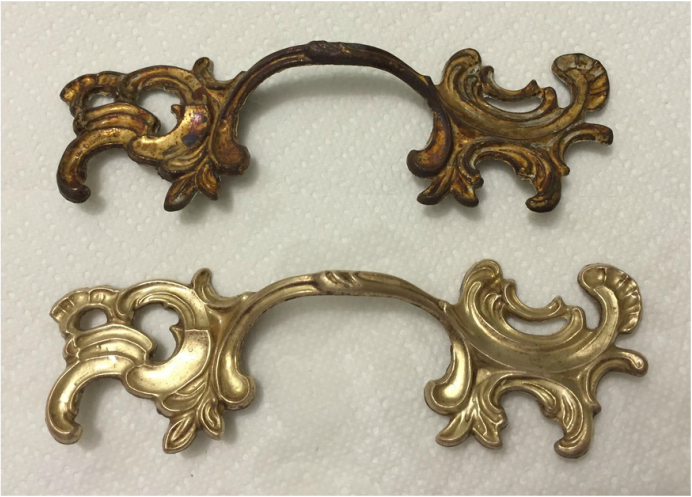
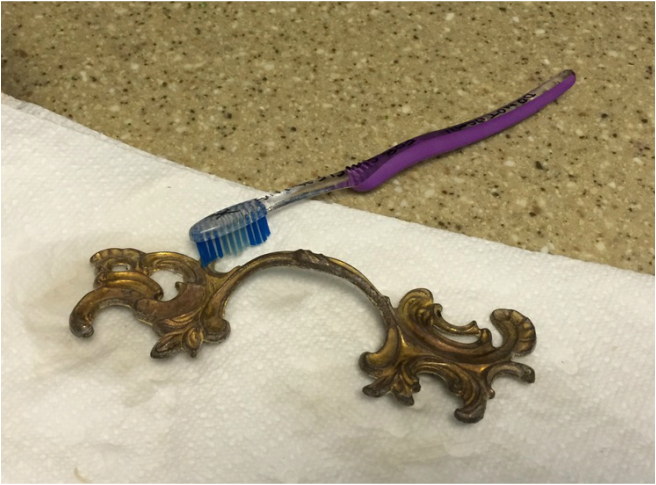
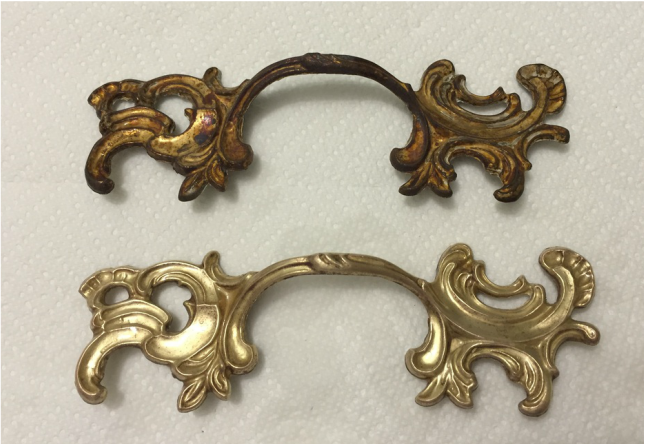
Once I removed the paint from the handles, I still considered spray painting them.  They were rusty and dirty looking.
Picture
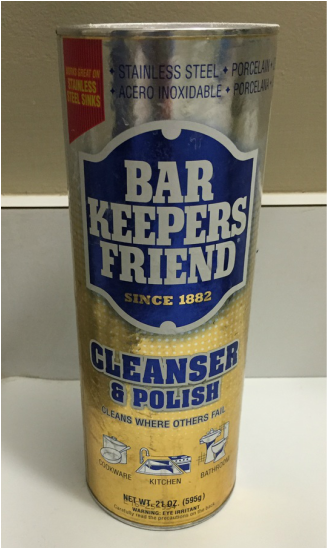
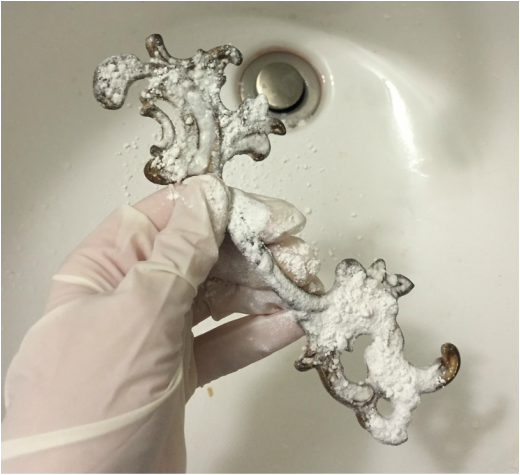
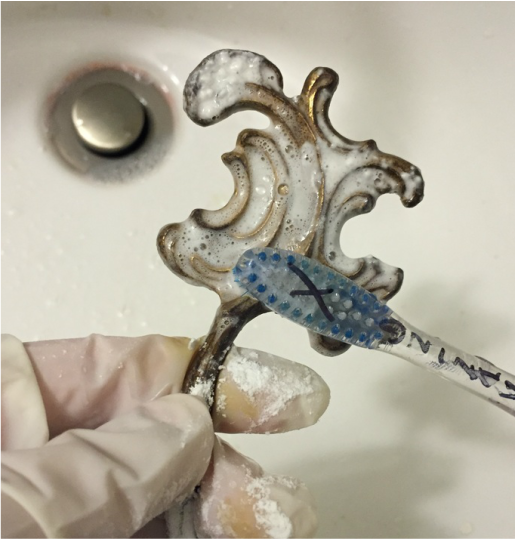
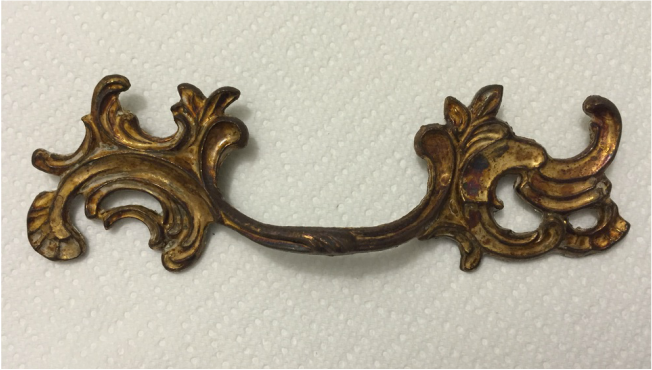
Again, I took to the internet to try and find a solution, and I came across a cleaning product that some people claimed could do the trick.  So once again, I decided to find out for myself.  The product is Bar Keepers Friend Cleanser & Polish, and it is amazing!​
Picture
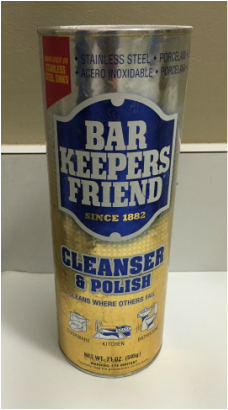
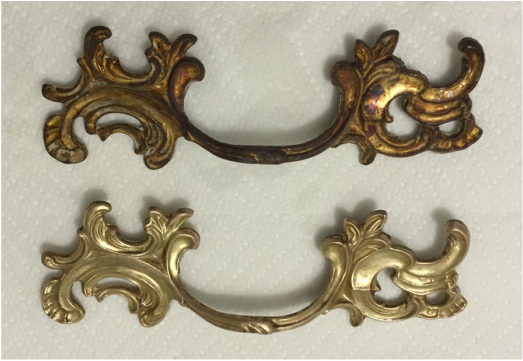
It returned my hardware to its former glory.  I even dedicated my own blog post to it here.  That's how good it is.
Picture
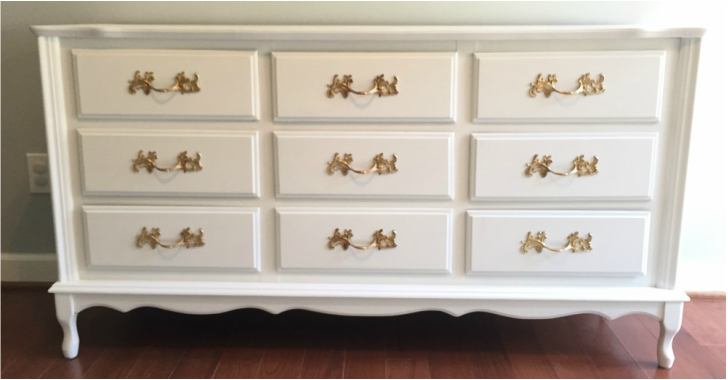
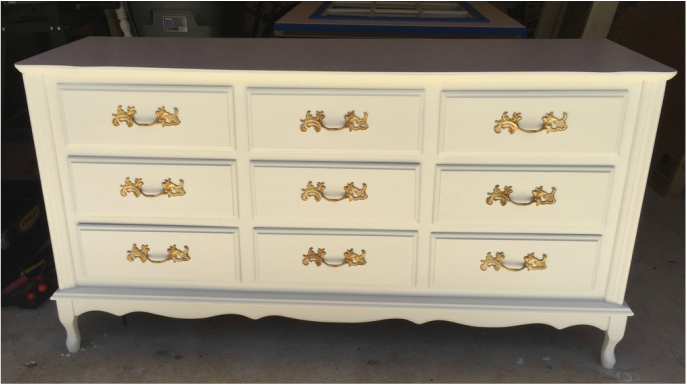
I put my newly restored hardware back on my drawers and put the drawers back in my upgraded dresser.
Picture
It was a total transformation!  A fairly easy one at that.  I'm completely in love with it.  It is, by far, my favorite project I've ever done, and it's certainly my new favorite piece of furniture in the house.  Bye, bye black and white dresser.  
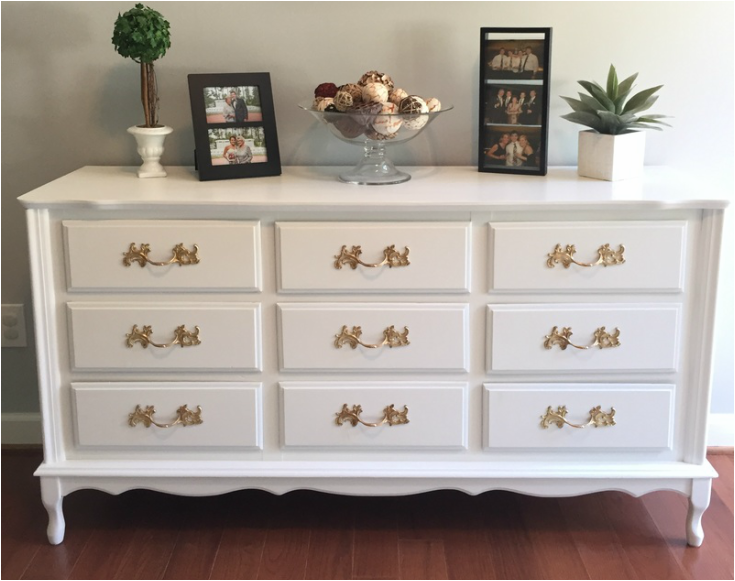
Picture
​Hello beautiful!
0 Comments

Chalk Paint Recipe

6/21/2016

0 Comments

 
Picture
I'm not exactly sure when chalk paint made its debut, but it's taken the DIY world by storm.  All sorts of traditional paint brands are making their own lines of chalk paint now.  So when I started doing my due diligence, I wasn't really sure where to begin.  So, naturally, I turned to the Pinterest "experts".  

I expected to find reviews of the best brands.  Instead, I kept finding recipe after recipe for DIY chalk paint.  So my research officially ended right where it started.  If all these other bloggers were making their own paint then I would too.  

While some of the recipes varied in measurements, most of them had the same basic ingredients.  So I decided to wing it and just started mixing and testing on my own.  After a few attempts, I succeeded in establishing a mix that I liked.  The recipe is below.
​
Chalk Paint Recipe:
1 Part Water
1 Part Plaster of Paris (Dry)
3 Parts Latex Paint
Step-by-Step Instructions:
1. Mix the one part water and one part Plaster of Paris together thoroughly.  Don't leave it idle for too long or it will start to set and get chunky.
2. Add three parts paint to the previous mixture and stir.  
3. Paint!
Tips and Tricks:
I use Popsicle sticks to mix the ingredients.  I'm usually working with small quantities of paint and the normal paint sticks are just too big for the job.
I provided the recipe in parts rather than actual measurements.  It's easier to scale your needs that way.  Also, the last thing I want to do when painting is measure out paint and transfer it into several different containers.  Totally unnecessary.
I like to use Tupperware containers when painting my furniture.  They are small and easy to handle.  They also have lids that can be snapped on to keep paint fresh for a few days so you can do several coats without making a new mix each time.
Picture
Hopefully this post will help you with your next furniture makeover.  I used this recipe on my newly acquired French provincial dresser that I picked up from the local Goodwill, and I am very pleased with the results.  Check it out here if you want to read the post.
Picture
0 Comments

Restoring Old Hardware

6/21/2016

0 Comments

 
Picture
Restoring your old hardware to its former glory is so simple!  I recently read about a cleaning product that does the job in minutes.  It's called Bar Keepers Friend Cleanser & Polish.  I'll tell you what... the company should think about advertising to DIYers, because it is amazing.  I honestly didn't expect it to work.  I've tried several different methods in the past and this is the only one that I will ever use again.
Picture
Step-by-Step Process:
1.  Remove all your hardware and rinse it off.  (If you have hardware that's been painted, you can use my Removing Paint from Old Hardware method to clean off the paint before restoring the shine.)
Picture
2.  Sprinkle the Bar Keepers Friend on your damp hardware piece.
Picture
3.  Use an old toothbrush to scrub the cleaner into all the cracks and crevices of your hardware.  Let it set a little and lather it as best you can.  I did the front and back of each piece.
Picture
4.  Rinse everything and pat it dry with a paper towel.
Picture
That's it!  The cleaner really gets all the gunk off and shines everything up like new.

For this particular piece of hardware, I decided to restore the handles on my newly acquired French provincial dresser.   
Picture
Worked like a charm!  I am so in love with it I can't even stand it.  SO glad I didn't decide to spray paint the handles like I originally wanted to.
Picture
Check out the dresser makeover post here.
0 Comments

Removing Paint from Hardware

6/21/2016

0 Comments

 
Picture
Say hello to my recently acquired French provincial dresser from Goodwill.  All she needs is a new paint job and a hardware update and she'll be good as new.  That's where my handy tutorial for removing paint from hardware comes in.
Picture
The hardware on this particular piece has a layer of paint that looks like it could be older than me.  Luckily, the process for removing it is really simple.
Ingredients:
8 cups water
​1/2 cup baking soda
That's right.  Two ingredients.  Both of which you probably already have.
Step-by-Step Process:
1.  Mix your water and baking soda together and bring to a boil
Picture
2.  Place your painted hardware into the boiling pot, cover, and boil for 20 minutes
Picture
3.  After 20 minutes, remove the hardware and use an old toothbrush to brush the loose paint from the hardware
Picture
That's it!  After being boiled, the paint should flake right off, leaving you with the original hardware to do with what you please.
Picture
If you want a tutorial for restoring that original hardware to its former glory, check out my Restoring Old Hardware post.  I promise it's as easy as removing the paint!  Oh, and it will get you one step closer to seeing that French provincial dresser makeover.  It's totally worth it...
Picture
0 Comments

    Project Posts

    Dresser Makeover
    Chalk Paint Recipe
    Restoring Old Hardware
    Hardware Paint Removal
    Crown Canopy
    Nursery Closet
    Reupholstered Bench
    Glider Makeover
    DIY Board and Batten
    Drywall Installation
    DIY Workbench
    Garage Custom Shelves
    Garage Cement Boards
    Kitchen Table Makeover
    Buffet Table
    Thrift Hutch Makeover
    Cabinet Makeover
    Coffee Table
    Side Table Makeover
    Pallet Bookshelf
    Ikea Table Makeover
    To Do List

    HOUSE PROJECTS

    Turning my current home into my dream home, one step at a time.  That is what this page is dedicated to.  If you want it done right, sometimes you just have to do it yourself.  Unless it involves knocking down walls.  In that case, you might want to call someone...
    Tweets by @craftbeergrier
    Visit Grier's profile on Pinterest.

    Archives

    June 2016
    February 2016
    December 2015
    November 2015
    September 2015
    August 2015
    July 2015
    June 2015
    April 2015
    March 2015
    February 2015

    RSS Feed

Powered by
✕