The Clutch Hutch
From the moment I first saw my kitchen, I thought to myself… “Poor thing, just needs a little love”. That being said, that “poor thing” has haunted me for the better part of a year and made it veeeeeery difficult to love, even just a little.
I admit that a lot of the grief it has given me has stemmed from the fact that I just couldn't make up my mind about what to do with it. It wasn't even just that it was such a small space. It was that the small space was dominated by five floor-to-ceiling windows. Now I know what you must be thinking… “How on earth could that possibly be a bad thing? The natural light it must provide!” If, in fact, that was exactly what you were thinking, you would be right… to an extent. The natural light in that kitchen is perfect. The view is great! That’s where the praise ends. The windows wrap around the edges of the room, effectively cutting off 25% of my potential cabinet and counter space. And I can’t put anything in front of them because they are floor-to-ceiling.
While one half of the kitchen was going to stay the way it was in terms of placement, I had only one measly little wall to turn into a fabulous spot for my refrigerator, trash can, recycling bin, food pantry, and extra counter space. Not going to happen. At least not the way I wanted.
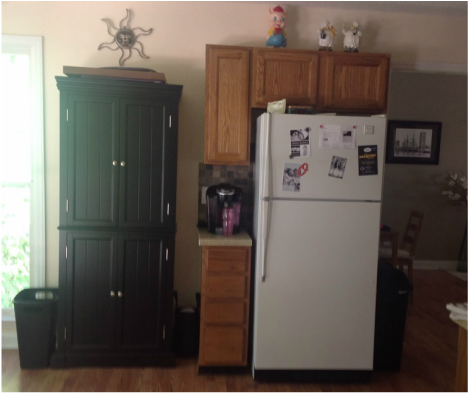
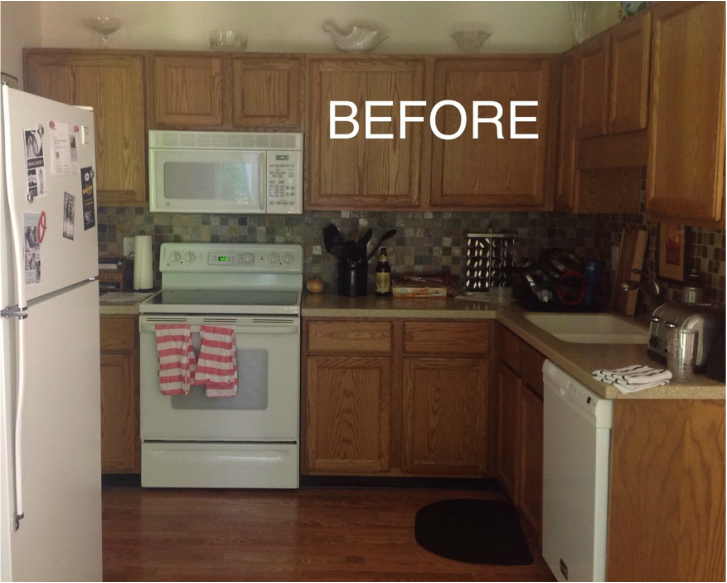
Original Setup in the New House with the Old Fridge
My first idea was a small island. I even started building it. I got pretty far along before I made my first big kitchen mistake. I bought a new refrigerator. The hubby was asking for a while for a new one. I finally gave in and we ventured over to HH Gregg with our height and width measurements. You may have already figured out by the last sentence what our issue ended up being. Yup… depth. We did not measure the depth of the new fridge because we did not think it would make a difference. But guess what? It did. It very much did. We got it delivered and installed within a few days and we loved it! That is, we loved it for about 5 minutes until I stood in front of it and opened the doors. That's when I realized that I was standing in the middle of the kitchen. Oops! No island for us anymore.
The original fridge was a lot smaller, and now I could see why. It was also white. New fridge… stainless steel. So of course, we're going to have to replace all of our other appliances eventually.
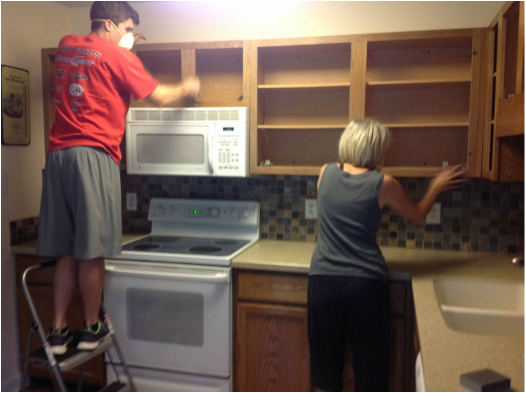
Back to square one. We ripped out the cabinets that were above the original fridge and moved the fridge closer to the windows. I measured the big blank space on the wall and went to work in search of a dresser I could put there with some shelves over it. I went to every thrift store in the area several times each week. I swear they recognize me now. It took me a while, but I finally found the perfect piece. It was different than I was picturing in my head, but the moment I saw it, I knew I had to have it.
The original fridge was a lot smaller, and now I could see why. It was also white. New fridge… stainless steel. So of course, we're going to have to replace all of our other appliances eventually.
Back to square one. We ripped out the cabinets that were above the original fridge and moved the fridge closer to the windows. I measured the big blank space on the wall and went to work in search of a dresser I could put there with some shelves over it. I went to every thrift store in the area several times each week. I swear they recognize me now. It took me a while, but I finally found the perfect piece. It was different than I was picturing in my head, but the moment I saw it, I knew I had to have it.
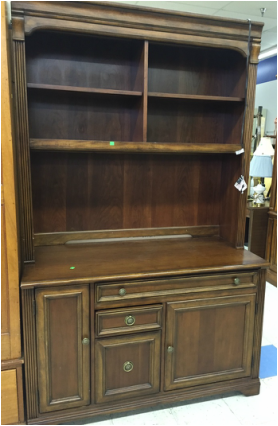
The Clutch Hutch at the Habitat for Humanity Restore
I would love to say I purchased it, had it placed in my car, and drove home with it, but that’s not exactly how it all went down. I did purchase it. I did have it placed in my car. Well… sort of. I had the bottom of it placed in my car. The top would not fit. I tried my mom’s car. Wouldn’t fit. I drove to my brother’s apartment, measured his car, thought it would fit, then had him drive his car out to pick it up for me. Wouldn’t fit. I called the U-Haul store two miles down the road. They told me they had a pickup I could rent right then and there. I arrived within 5 minutes of the conversation. The guy in front of me in line had rented it. The lady I spoke to called another store a few miles further down the road. They had a pickup available. This time she reserved it for me in the system. So finally, after many failed attempts, I managed to secure a truck that would haul my baby home.
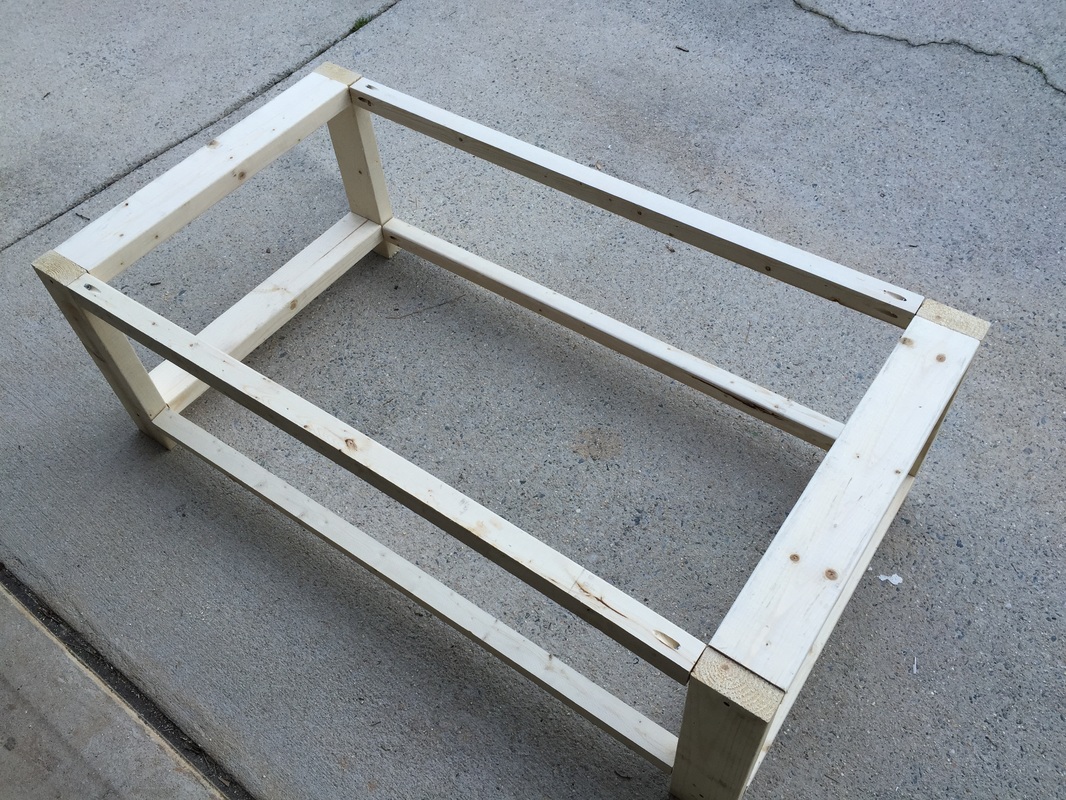
Once I got it there, I set it in the garage. Normally, the garage is where projects go to die. It seems ironic to me now that I placed my new hutch next to the skeleton of my unfinished kitchen island that I had pillaged for parts. If I hadn't had a reason to finish my kitchen ASAP (company…ahhhh!!!), that hutch might still be sitting in the same spot. But as fate would have it, this was a project that I finished in a timely fashion.
Once I got it there, I set it in the garage. Normally, the garage is where projects go to die. It seems ironic to me now that I placed my new hutch next to the skeleton of my unfinished kitchen island that I had pillaged for parts. If I hadn't had a reason to finish my kitchen ASAP (company…ahhhh!!!), that hutch might still be sitting in the same spot. But as fate would have it, this was a project that I finished in a timely fashion.
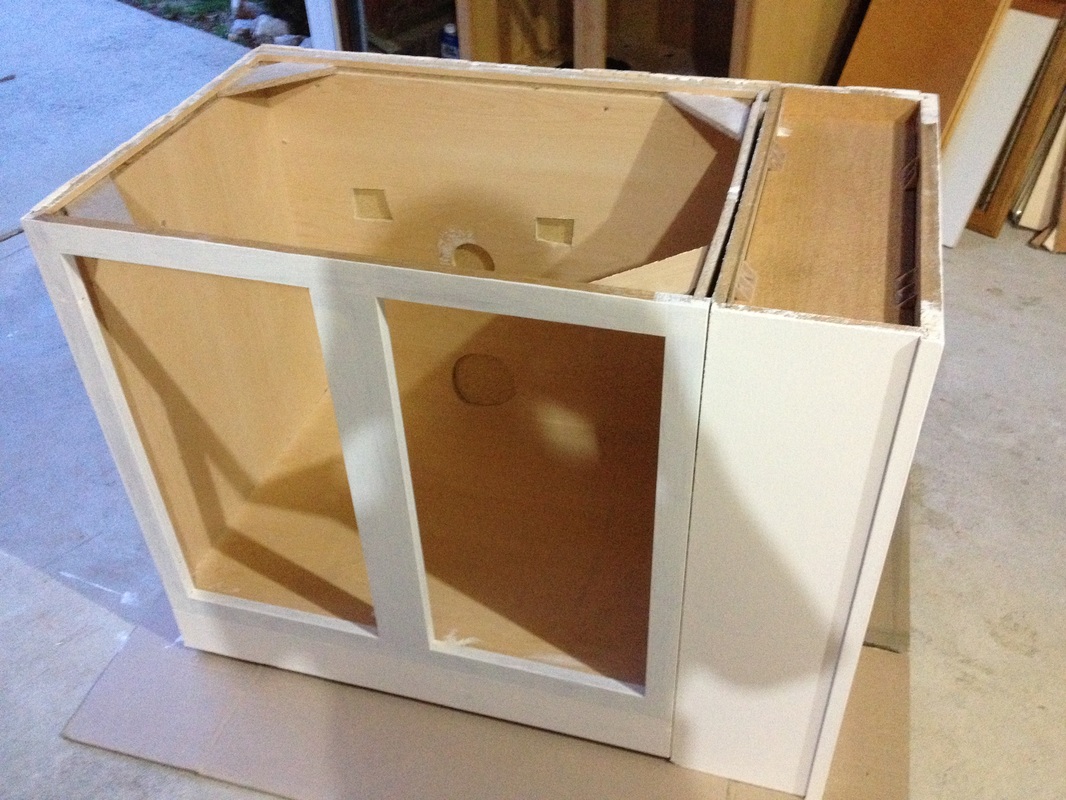 Kitchen Island Skeleton in the Garage | 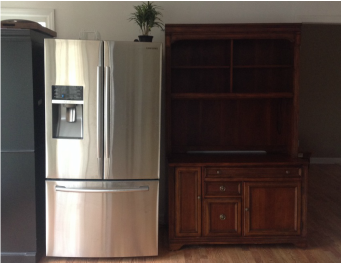 Sizing Up the Clutch Hutch in the Kitchen - Perfect Fit! |
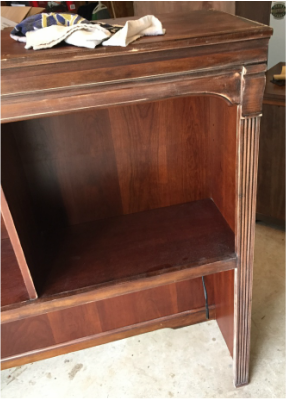
As you can see, it was a dark wood color when I bought it. But as you might know from my Cabinet Magic post, my new kitchen cabinets are white. I decided to paint the whole thing white. However, I did want it to have a different color counter top. I planned to put our Keurig there and coffee and white just don’t mix. So I decided to re-stain the counter top portion and paint the rest white. I eventually want to get rid of the counter tops in the rest of the kitchen and install DIY butcher block, so it seemed like the perfect solution.
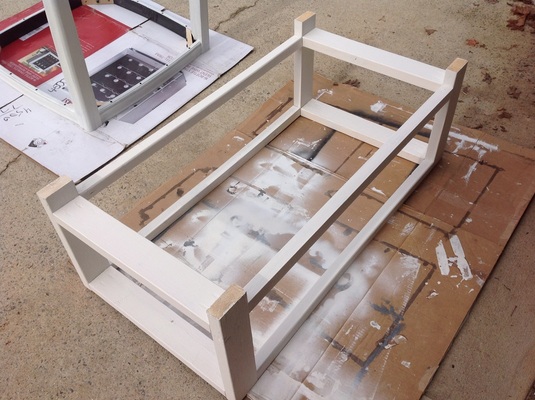
I removed the top portion of the hutch and started with that piece. Don’t ask me why. Probably because it seemed less threatening. I was wrong, of course. The top was much harder to complete than the bottom. I removed the shelves and starting sanding everything. Once I had it sanded, I used an oil-based primer and applied two layers with a cheap brush, sanding in between coats. Per the usual, it looked TERRIBLE with just the primer on. Luckily, this wasn't my first rodeo, and I knew not to panic. I painted two more layers of white paint over the primer, sanding in between coats. I used the same paint I used to paint my kitchen cabinets so everything would match.
I removed the top portion of the hutch and started with that piece. Don’t ask me why. Probably because it seemed less threatening. I was wrong, of course. The top was much harder to complete than the bottom. I removed the shelves and starting sanding everything. Once I had it sanded, I used an oil-based primer and applied two layers with a cheap brush, sanding in between coats. Per the usual, it looked TERRIBLE with just the primer on. Luckily, this wasn't my first rodeo, and I knew not to panic. I painted two more layers of white paint over the primer, sanding in between coats. I used the same paint I used to paint my kitchen cabinets so everything would match.
 Top of the Hutch Sanded Down | 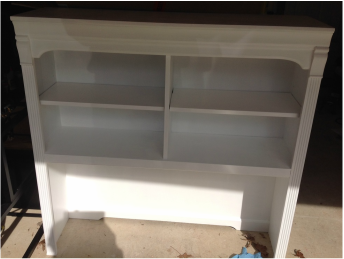 Not a great pic, but you get the idea - Top of the hutch painted |
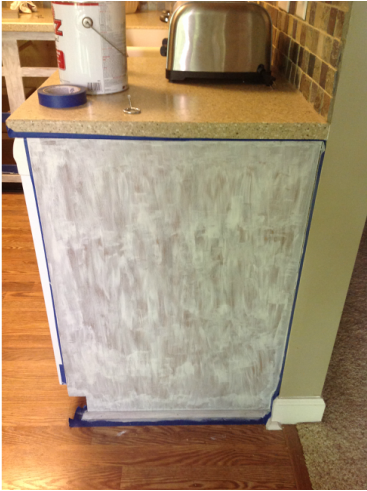
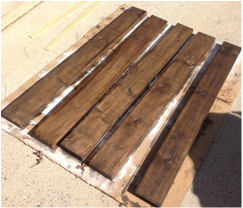
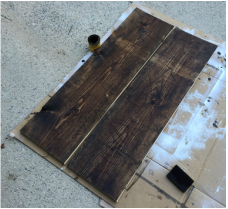
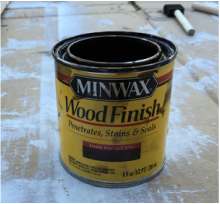
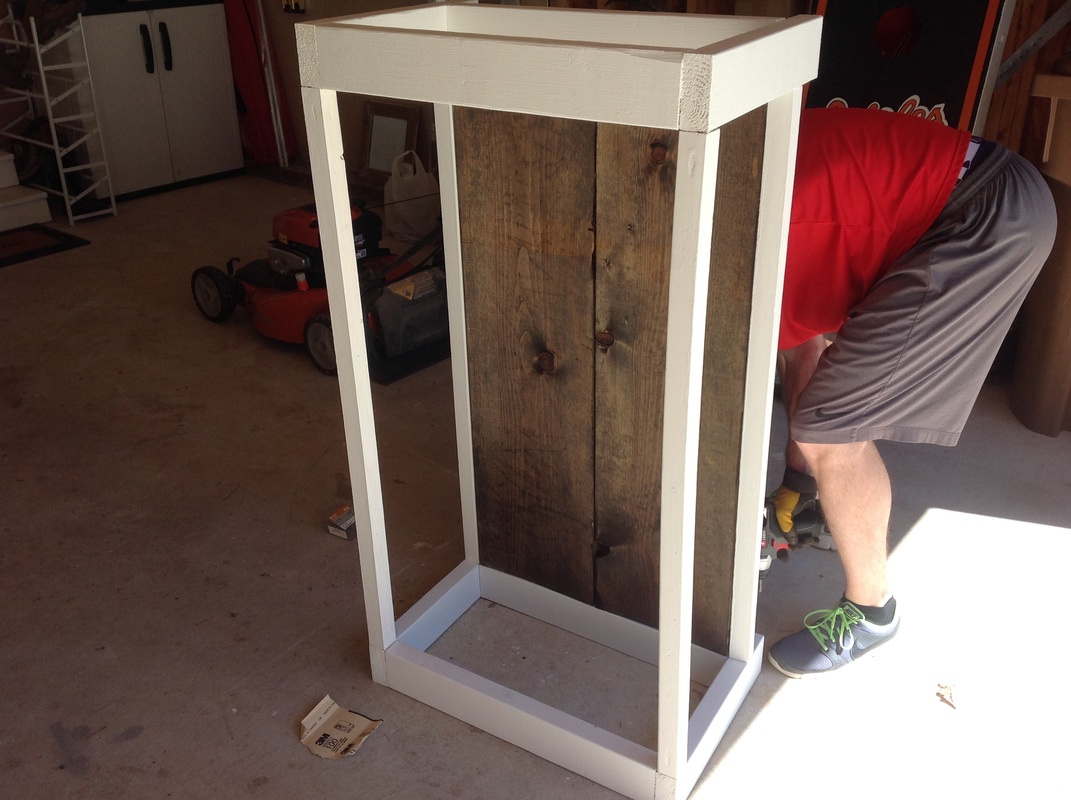
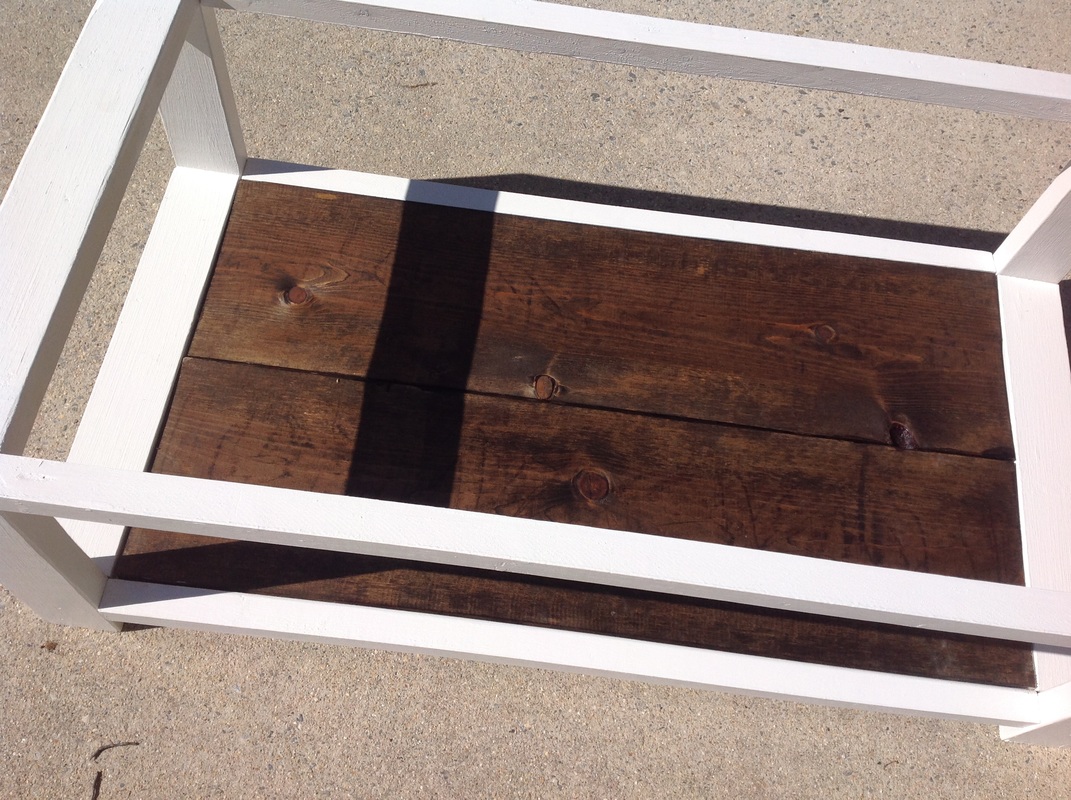
Once the top was finished, I got to work on the bottom. My mom sanded the bottom and I sanded down the countertop portion of it and stained it with a walnut stain. I did two layers, allowing several hours in between coats to dry. I applied two coats of polyurethane as well. I let the last coat dry for 24 hours while I painted the bottom with two layers of primer and two layers of paint. The hutch hardware was bronze when I purchased it, and my cabinet hardware is nickel, so I decided to spray paint the hardware that came with the hutch. I thought about replacing it with the same hardware I used for the cabinets, but I really liked the hutch hardware so I decided to keep it. I placed the hardware in a small cardboard box to contain the mist and sprayed each piece with several layers.
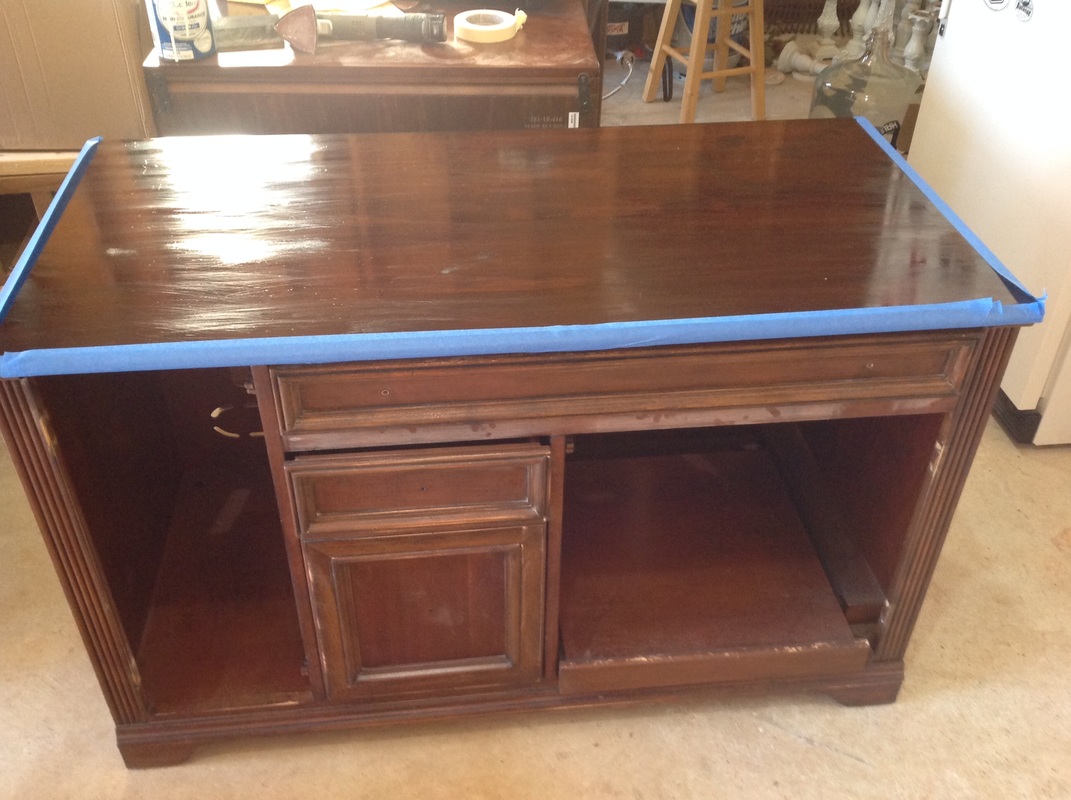 Staining the top of the hutch with two layers walnut and two layers polyurethane 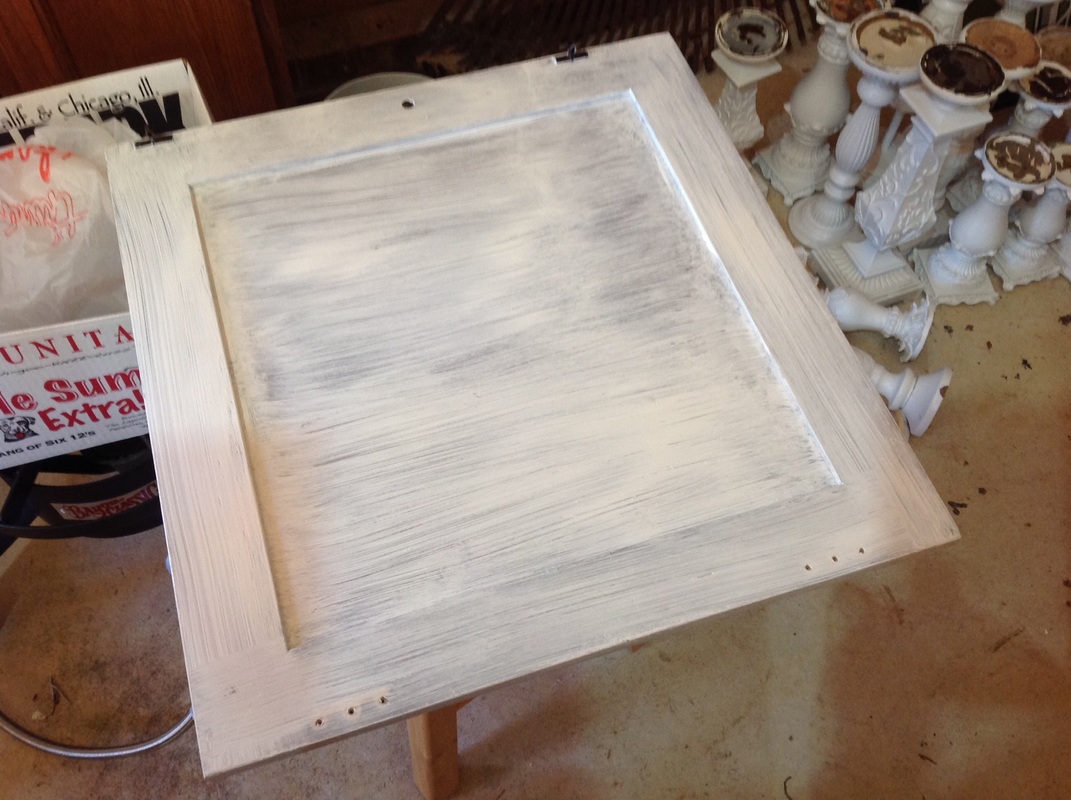 Painted the front and back of the hutch doors | 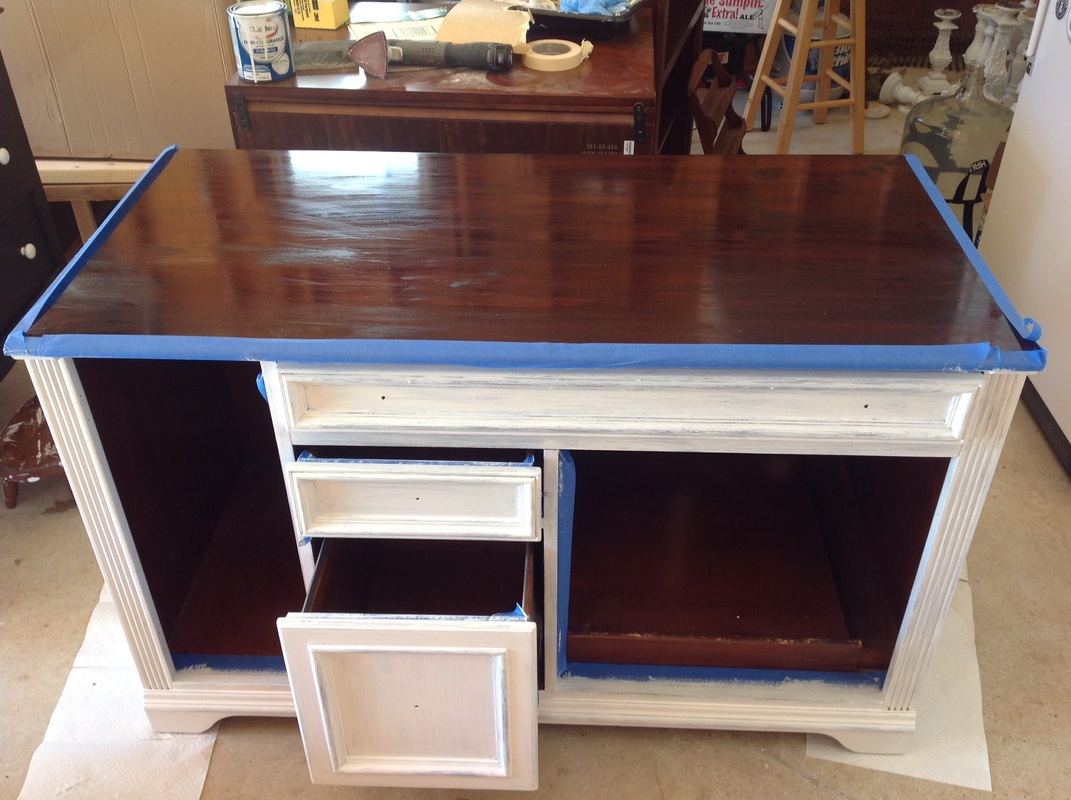 Painted the bottom of the hutch with two layers of primer and two layers of white paint 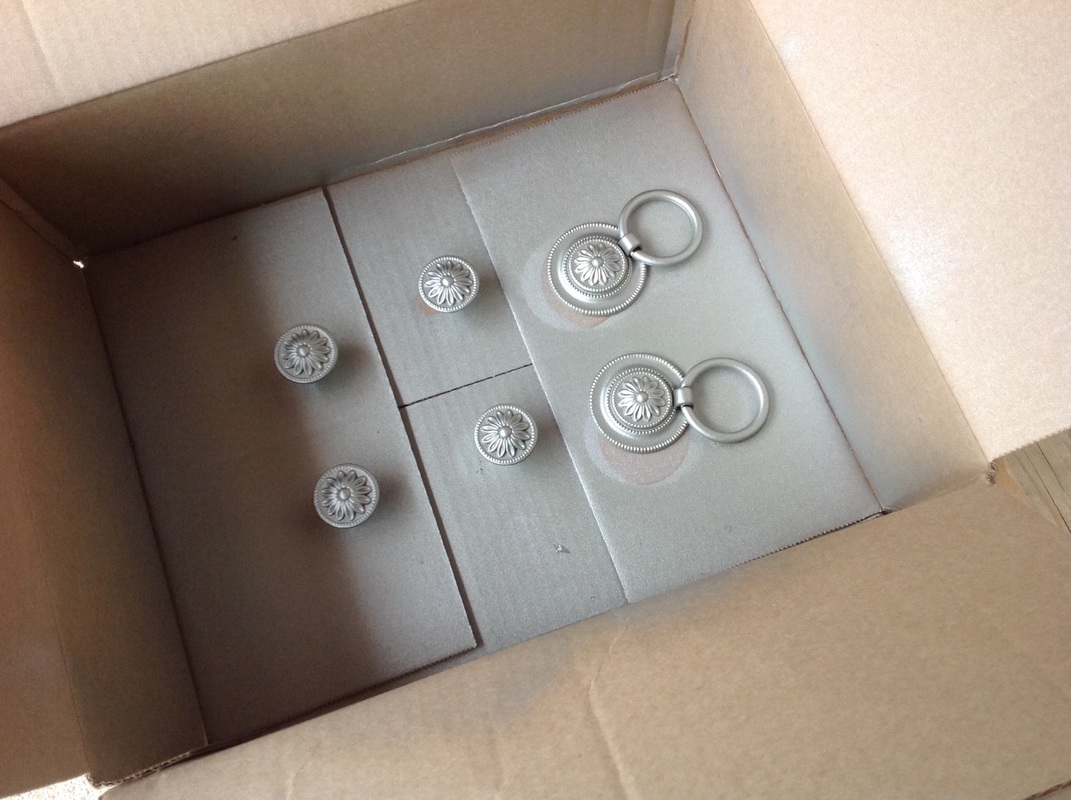 Spray painted the original hutch hardware with nickel spray paint |
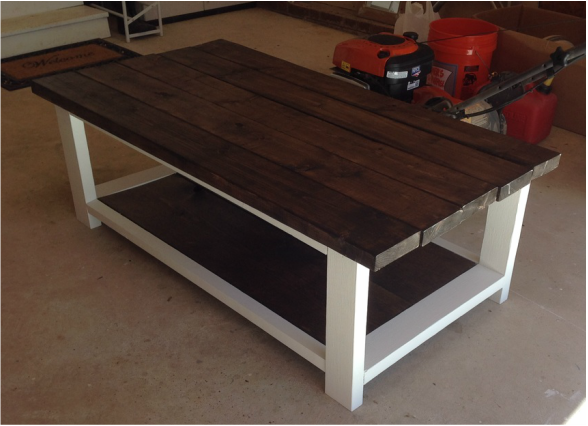
Once completed and dry, I had the hubby help me get the finished product into the kitchen where we reattached the two parts and placed it in its new home. It was perfect!!!!
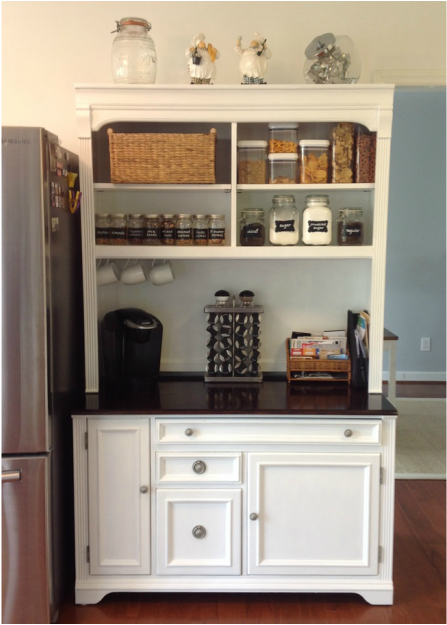
I went a little crazy with the hutch décor. At first, I thought about displaying dishes or cookbooks on the shelves, but after some Pinterest research I got a better idea. I went out and bought some new food containers. Displaying food out in the open is such a space saver! I even bought little black labels for my mason jars and wrote the names of the foods with a chalk marker. I purchased a basket for all the items I didn't want to display. Then I installed some hooks on the bottom of the lowest shelf to hang my coffee mugs over the Keurig.
I went a little crazy with the hutch décor. At first, I thought about displaying dishes or cookbooks on the shelves, but after some Pinterest research I got a better idea. I went out and bought some new food containers. Displaying food out in the open is such a space saver! I even bought little black labels for my mason jars and wrote the names of the foods with a chalk marker. I purchased a basket for all the items I didn't want to display. Then I installed some hooks on the bottom of the lowest shelf to hang my coffee mugs over the Keurig.
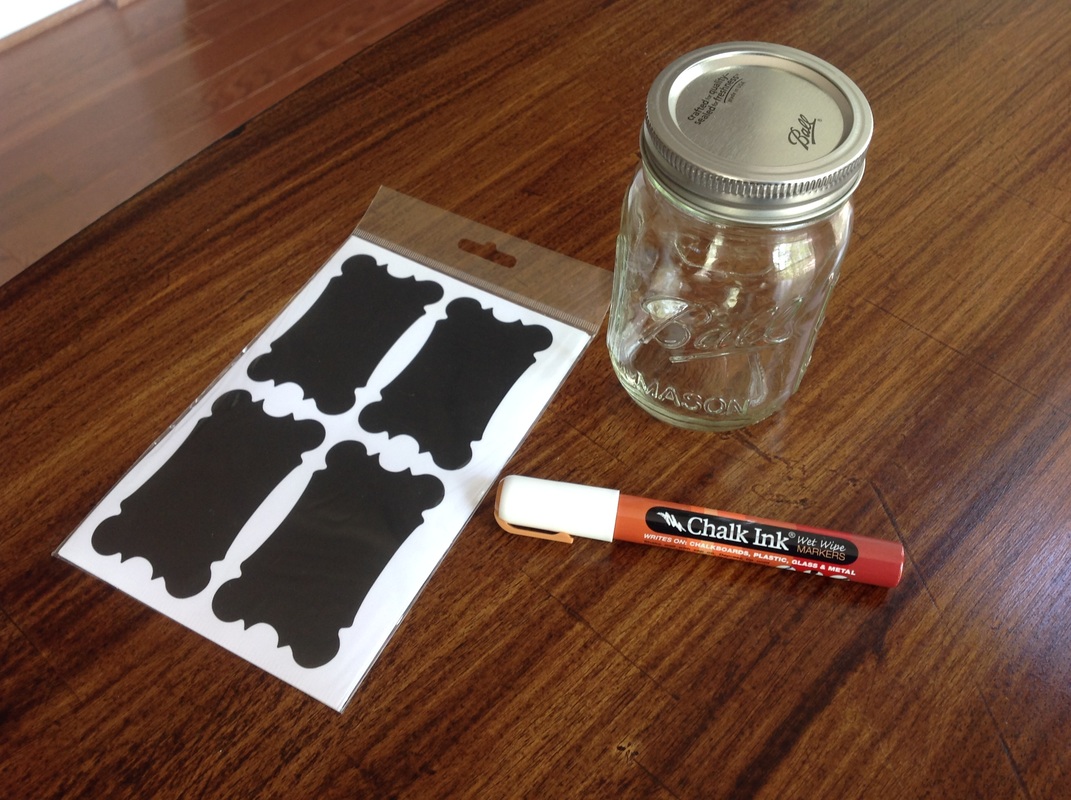 Black labels with chalk pen for mason jars 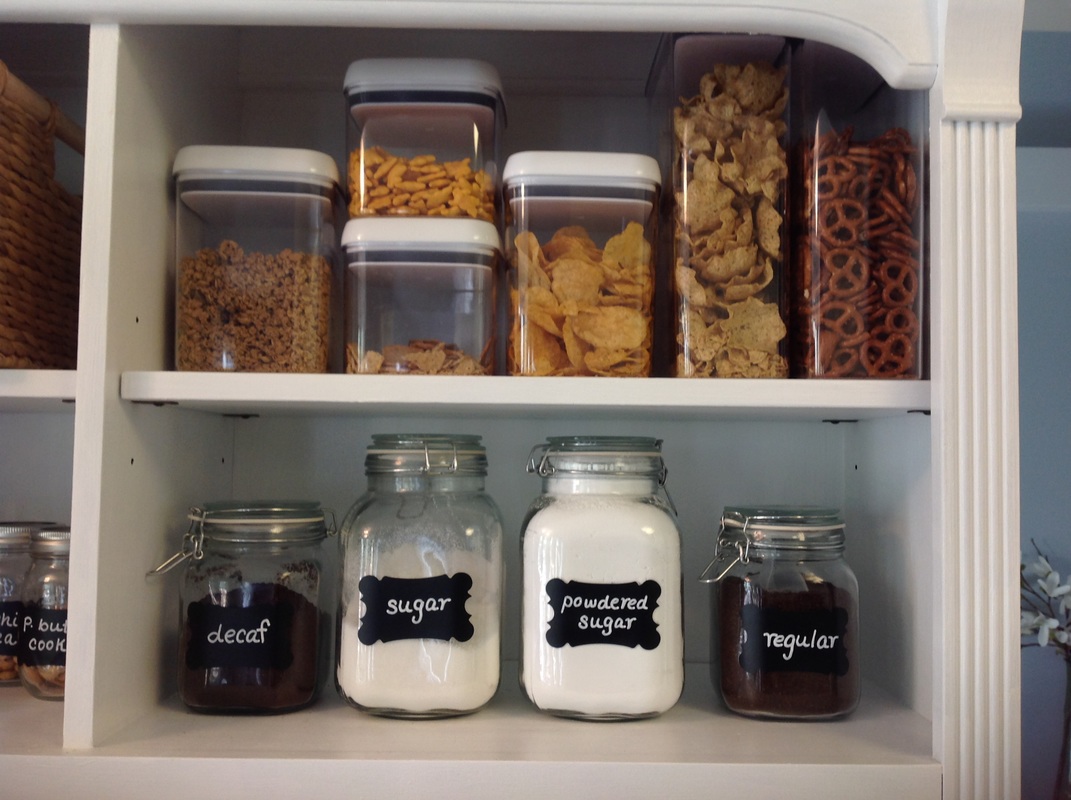 Labeled coffee products and clear food containers | 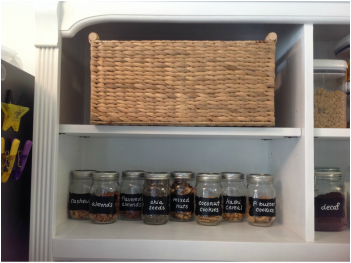 Mason jars with labels and a basket to hide snacks 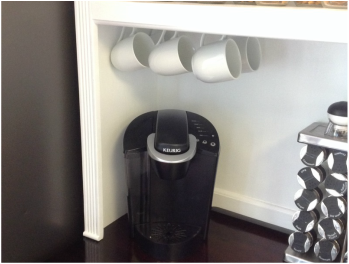 Hooks above the Keurig for coffee mugs |
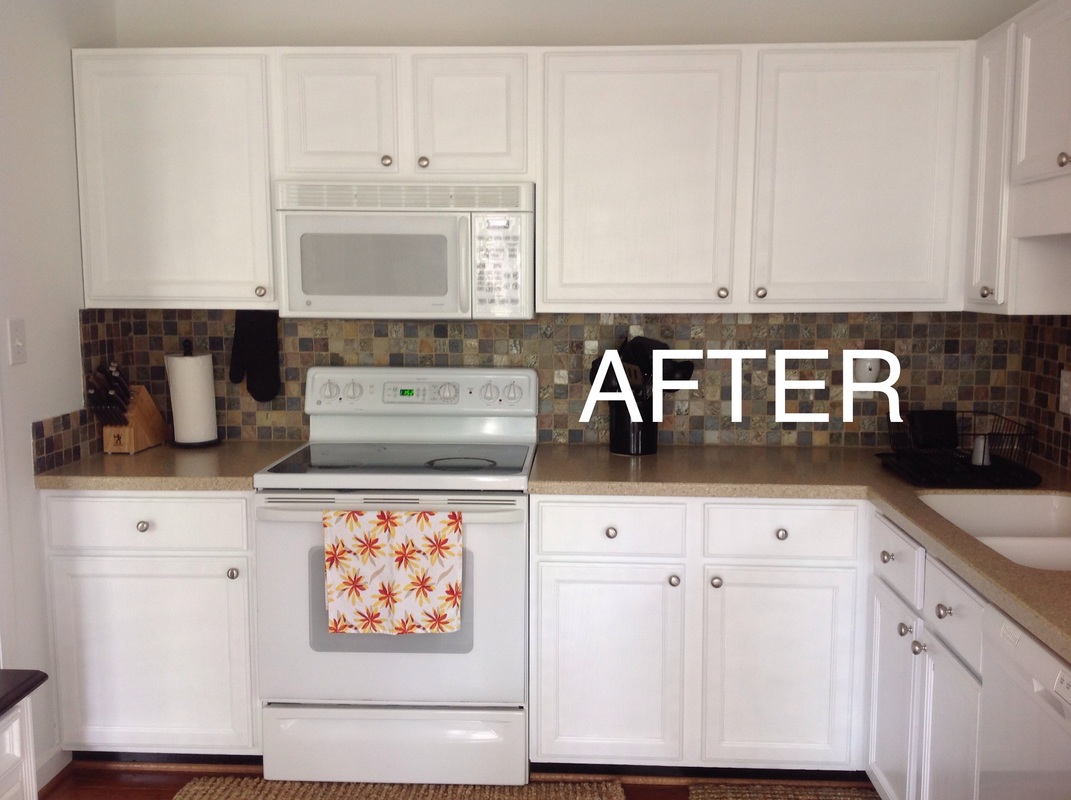
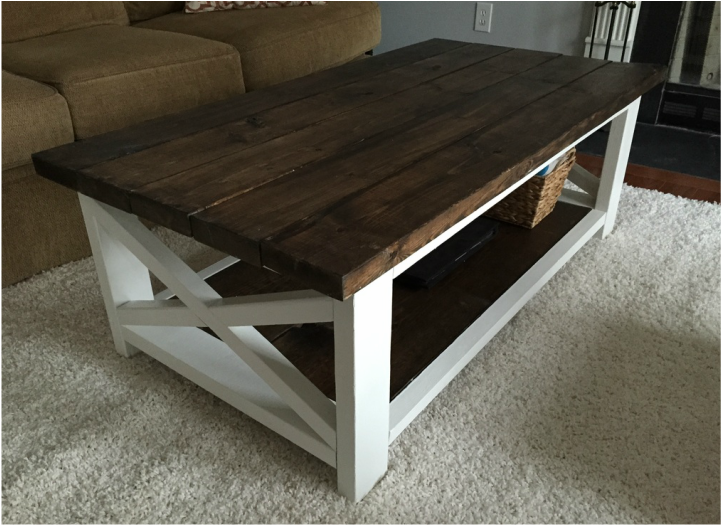
Once I had everything placed, I took some well-deserved pictures. I was really impressed with the way everything turned out. The hutch matched the kitchen perfectly. And it solved the kitchen storage space issue without affecting any of the space in front of the windows.
Long story short... this hutch is clutch!
Long story short... this hutch is clutch!
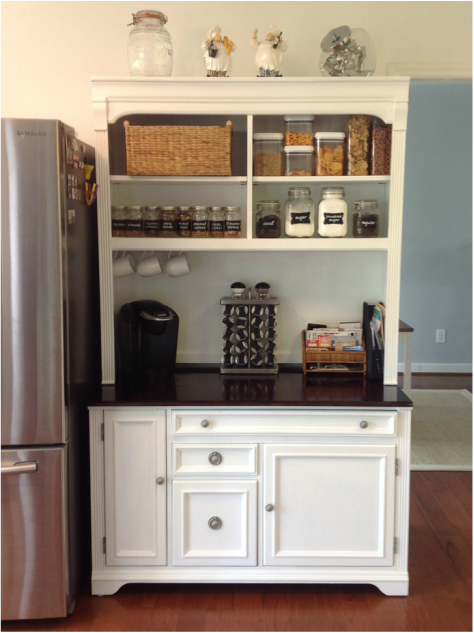 Kitchen Wall 1 | 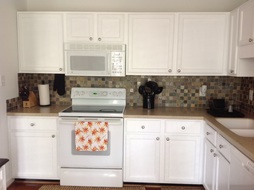 Kitchen Wall 2 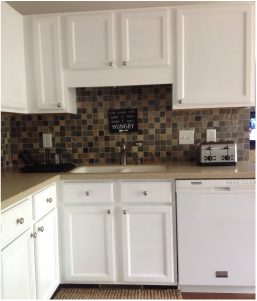 Kitchen Wall 3 |
Materials List:
Thrift Store Hutch
Primer
Paint
Sandpaper/Sanding Blocks/Sander
Brushed Nickel Spray Paint
Painters Tape
Walnut Stain
Polyurethane
Step Recap:
1. Sand all parts that are being painted or stained
2. Stain the part that will be the counter top
3. Allow the stain to dry for a few hours and apply another coat
4. Apply a coat of Polyurethane on top of the stain, allow to dry
5. Apply another coat of polyurethane and allow to dry for 24 hours
6. Apply two layers of primer to all parts that will be painted, sanding in between coats
7. Apply two layers of paint, sanding in between coats
8. Spray paint the hardware using a small cardboard box
9. Flip the hardware over when dry and spray the other side
10. Re-assemble the parts and hardware
11. Take lots of pictures!


 RSS Feed
