
A more accurate name for this post would be a “Makeover of a Makeover Side Table”, but that just didn't seem as appealing.
You know how the story goes… you decide to upgrade an old/cheap piece of furniture by painting it. You love the transformation… for about 2 seconds. Then you decide you have a better idea. That was the case with me. Except that I kept the makeover for about a year before I decided to change it again.
When we first bought our house, I was super excited to decorate it and make it look the way I imagined it in my head. Then the check for our down payment cleared, and I realized that my dreams of instant transformation were just that… dreams.
So we did what any other young couple does when they move into a new home and don’t have enough furniture to fill it. We accepted whatever items our friends and family were willing to part with. Which usually meant we ended up with the stuff that nobody wanted anymore. But hey… it’s free.
My original little side table was one of those items. I honestly can’t even remember who gave it to us. Probably my mother. She pawned a lot of stuff on us when she and my dad moved from a three bedroom house to a two bedroom townhouse.
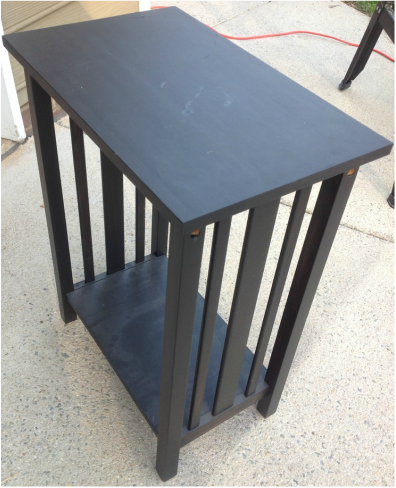
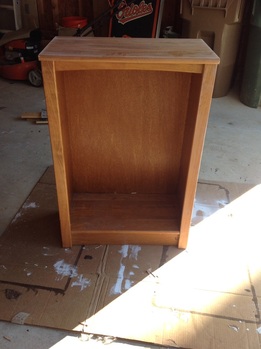
The table was not real wood. It was one of those Ikea-type tables that are made out of particle wood and covered with a thin sheet of wood-colored something. I don’t even have a picture of it. It wasn't ugly, but it wasn't pretty either. So I decided to just paint the whole thing black to match our TV stand. It was a lazy move. I didn't prime it or anything. I just painted two layers of black paint on it and went about my business.
You know how the story goes… you decide to upgrade an old/cheap piece of furniture by painting it. You love the transformation… for about 2 seconds. Then you decide you have a better idea. That was the case with me. Except that I kept the makeover for about a year before I decided to change it again.
When we first bought our house, I was super excited to decorate it and make it look the way I imagined it in my head. Then the check for our down payment cleared, and I realized that my dreams of instant transformation were just that… dreams.
So we did what any other young couple does when they move into a new home and don’t have enough furniture to fill it. We accepted whatever items our friends and family were willing to part with. Which usually meant we ended up with the stuff that nobody wanted anymore. But hey… it’s free.
My original little side table was one of those items. I honestly can’t even remember who gave it to us. Probably my mother. She pawned a lot of stuff on us when she and my dad moved from a three bedroom house to a two bedroom townhouse.
The table was not real wood. It was one of those Ikea-type tables that are made out of particle wood and covered with a thin sheet of wood-colored something. I don’t even have a picture of it. It wasn't ugly, but it wasn't pretty either. So I decided to just paint the whole thing black to match our TV stand. It was a lazy move. I didn't prime it or anything. I just painted two layers of black paint on it and went about my business.
It wasn't until about a year later (last week) that I decided to change it up again.
By then we had saved up enough money to buy all new hardwood floors and give the house a good professional paint job. With everything looking fresh, I decided to put my foot down on the mismatched furniture issue.
Since we moved everything out of the first floor for the installation, most of our stuff was in the garage. I decided that the only things that were allowed back in the house were the items that looked the way I wanted them to look for the foreseeable future. It was a tall order. Most of our old furniture just wasn't going to make the cut. That’s when I started planning makeovers for all that donated furniture.
Why buy new furniture when you have functional furniture that was given to you for FREE??? All it needed was some paint, wood stain, and a little love and affection. That is how my side table got its second makeover.
My first two “House Projects” posts were also about furniture upgrades. As you may have noticed, the new theme for my house consists of a lot of whites and woods. So naturally, that is what I went with for the side table.
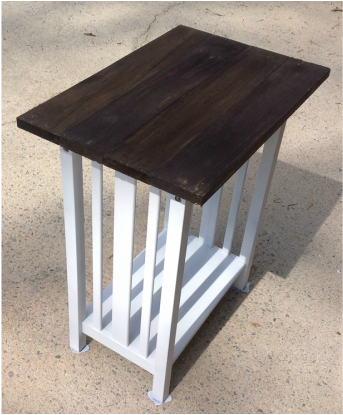
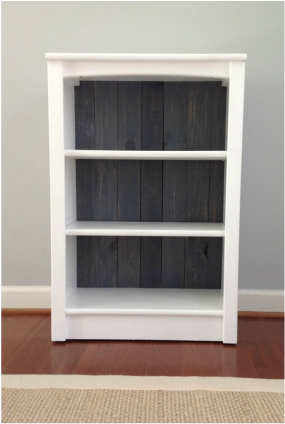
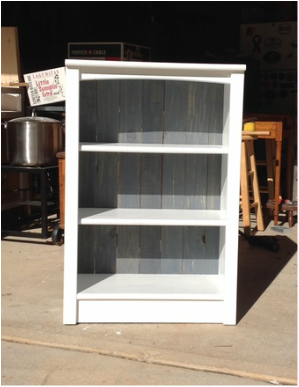
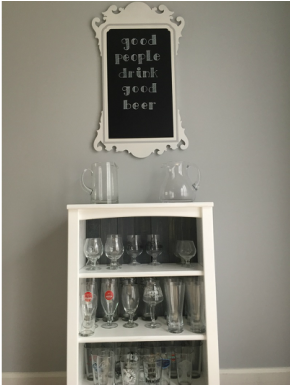
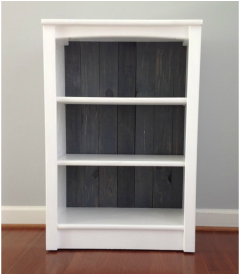 Bookshelf: White with Gray Wood Planks | 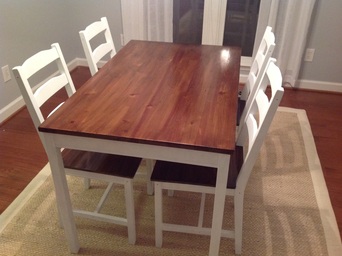 Dining Room Table: White with Wood Stained Top |
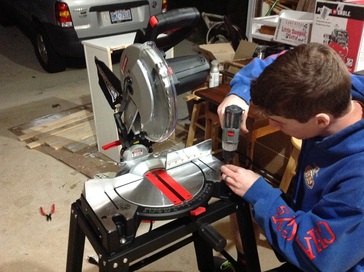
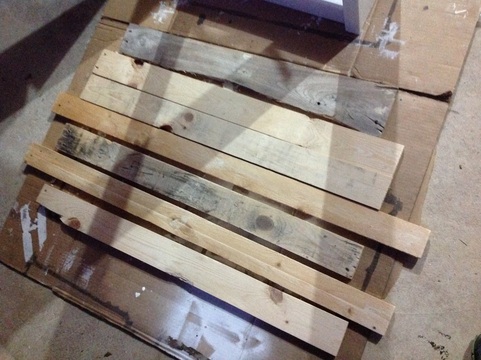
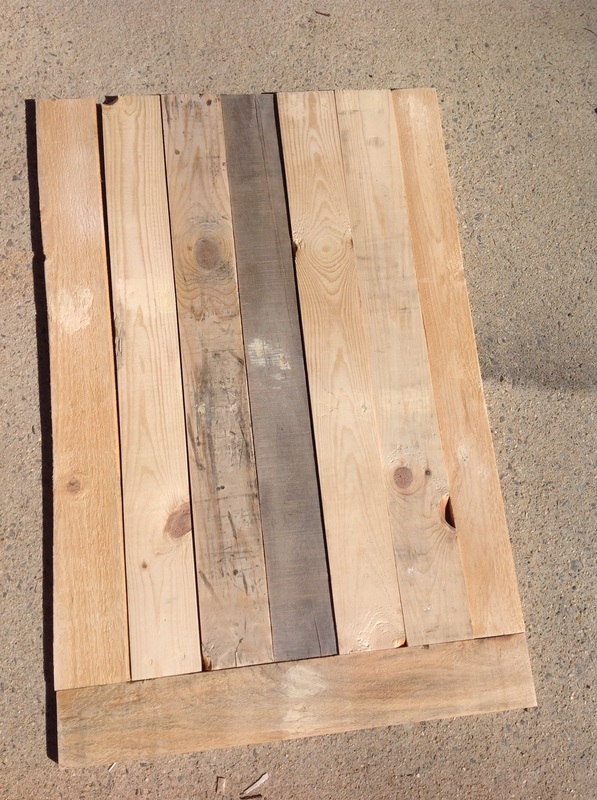
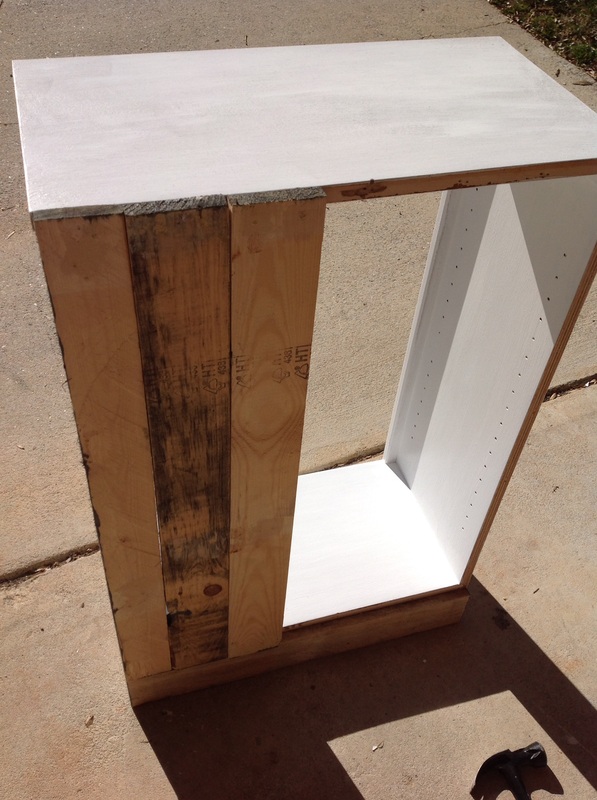
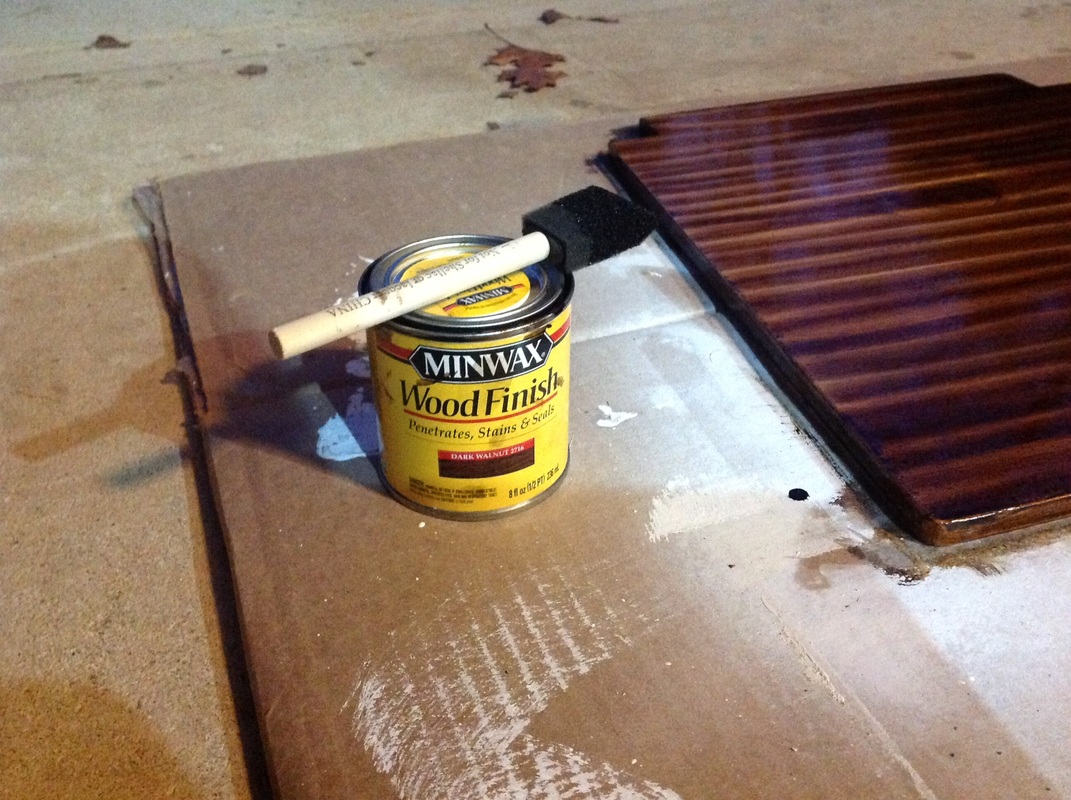
Since the table was not real wood, there was really no way for me to showcase any natural wood colors without adding something to the table. So that is what I did. I measured the top of the table and cut out four pieces from pallet planks that would fit right on top of the current table with a one inch hang on each edge.
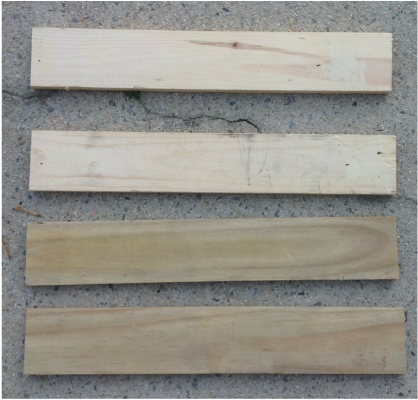
Pallet Planks
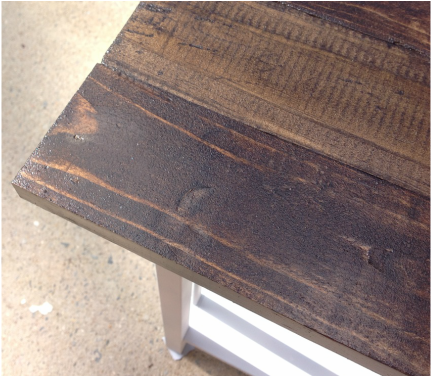
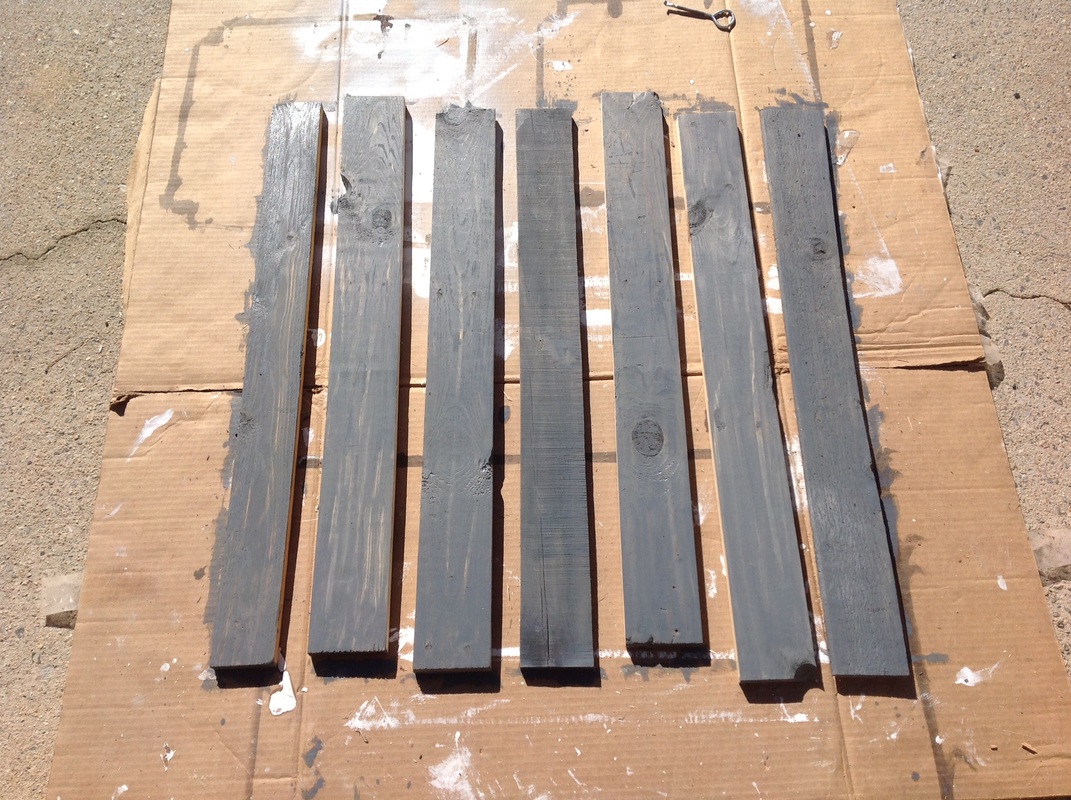
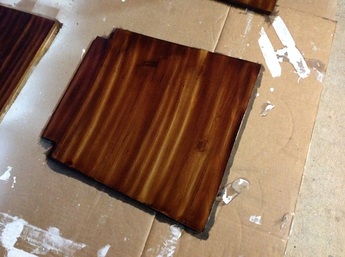
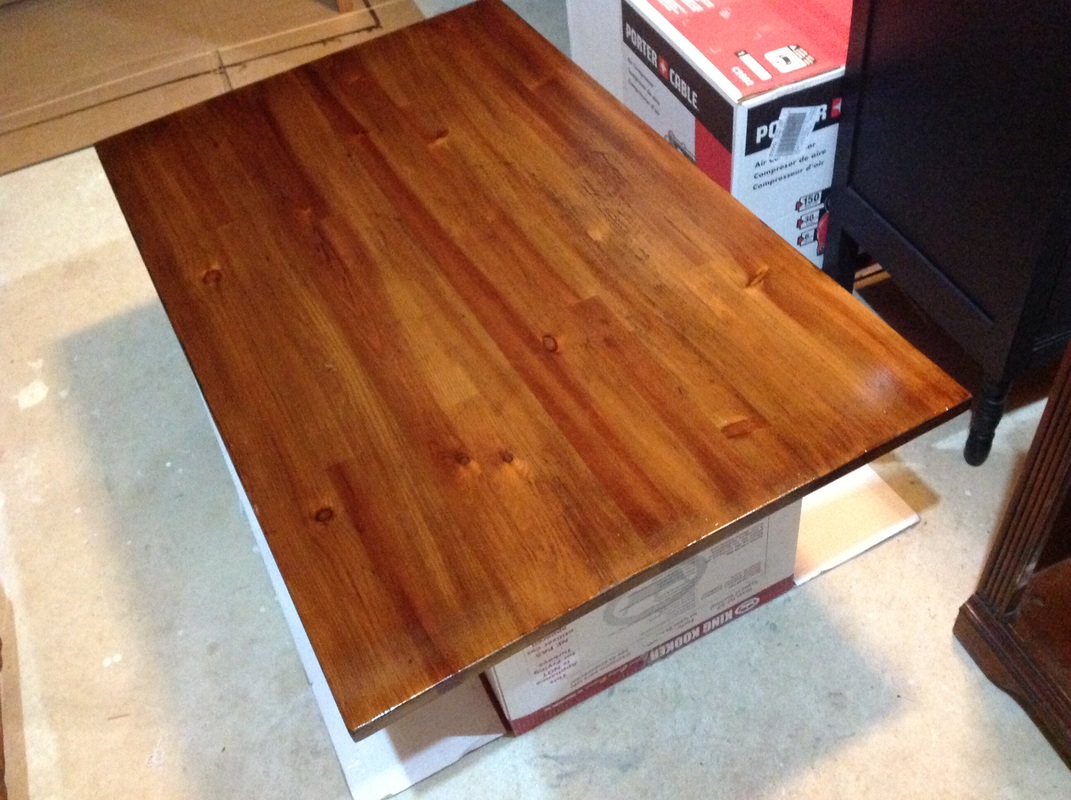
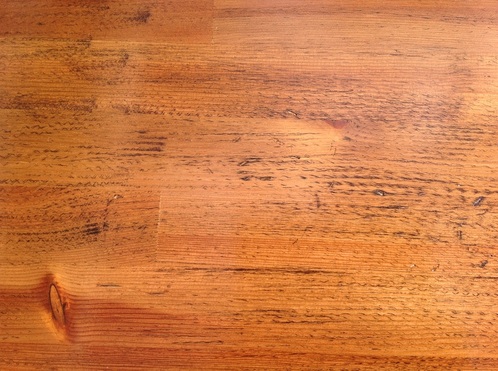
I stained the pallet planks with a walnut wood stain that matched the stain I used on our coffee table. I let those dry for a few hours while I painted the table.
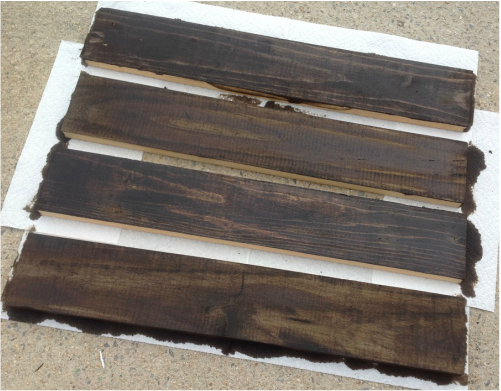 Stained Pallet Planks | 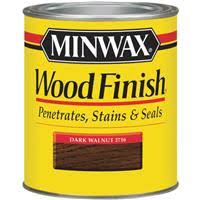 |
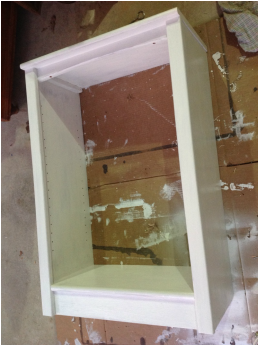
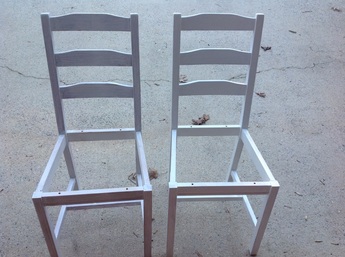
Since the table was black, and I wanted to paint it white, I knew I was going to need several layers. I decided to spray the layers on since it was such a small piece. I actually used a spray primer I bought from Walmart and did two layers. I didn’t even bother painting the top since I planned to add the pallet wood to it. After I sprayed two layers of primer, I sprayed two layers of flat white paint as well. I didn’t even sand in between the layers. I wanted to give it a little texture.
 |  |
Once the paint was dry, I placed the pallet wood face down on the garage floor and flipped the table onto the wood. Once it was lined up correctly, I drilled holes in the bottom of the table where I was going to put the screws. I did one screw on each side of each of the planks… 8 total. Once I drilled the screws through the holes, I flipped the table over.
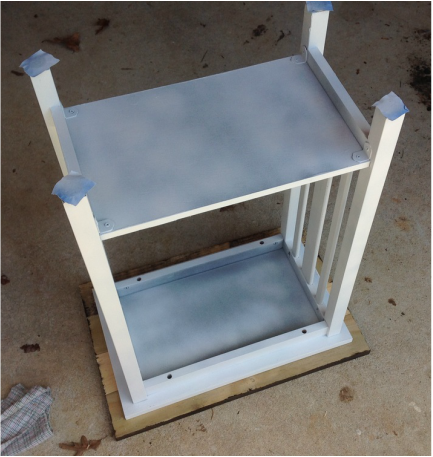
Preparing to Attach the Top with Screws
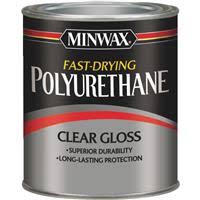
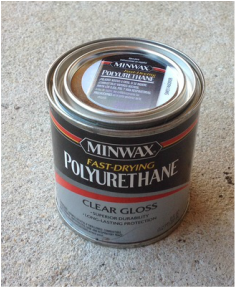
Now that the table looked the way I wanted it to, I applied a layer of polyurethane to the wood planks and let it dry for a few hours. Then I applied a second coat and let that one dry overnight.
 |  |
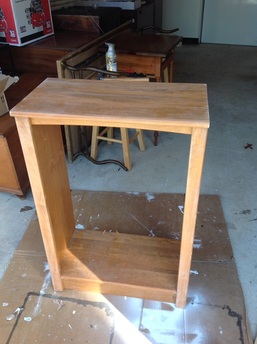
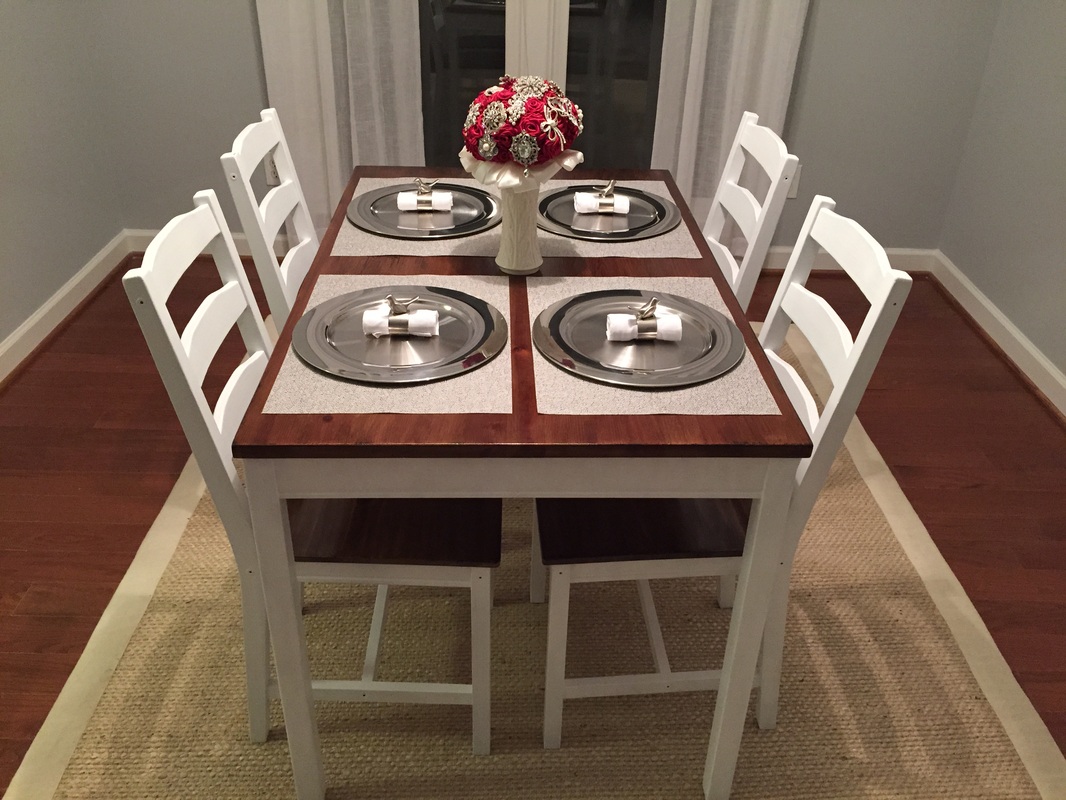
The next day, I gave the table one last look, decided that it passed the test, and brought it in for placement. I was very pleased with the results, and it has been 2 days and I still love it. SUCCESS!
Materials List:
Small Side Table
Pallet Wood
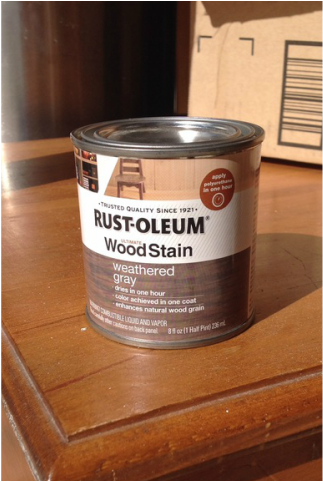
Minwax Dark Walnut Wood Stain
Minwax Clear Gloss Polyurethane
Rust-Oleum White Spray Primer
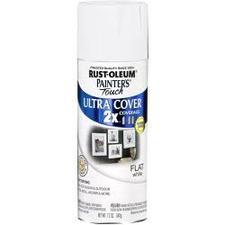
Rust-Oleum Flat White Spray Paint
Wood Screws (8)
Drill
Paint Brush
Step-by-Step Instructions:
1. Measure the top of the table and cut pallet wood to hang slightly off the top
2. Stain pallet wood with desired wood stain and allow to dry for several hours
3. Spray paint table with two layers of spray primer
4. Spray paint table with two layers of desired spray paint
5. Flip pallet wood and table upside down and line them up together
6. Pre-drill holes on the underside of the table on each end of all pallet planks
7. Drill screws long enough to go through the table and approximately half of each plank
8. Flip the table over and apply a coat of clear polyurethane and allow to dry several hours
9. Apply the second coat of polyurethane and allow 24 hours drying time
10. Add the new piece to your collection and post lots of pictures!
Small Side Table
Pallet Wood
Minwax Dark Walnut Wood Stain
Minwax Clear Gloss Polyurethane
Rust-Oleum White Spray Primer
Rust-Oleum Flat White Spray Paint
Wood Screws (8)
Drill
Paint Brush
Step-by-Step Instructions:
1. Measure the top of the table and cut pallet wood to hang slightly off the top
2. Stain pallet wood with desired wood stain and allow to dry for several hours
3. Spray paint table with two layers of spray primer
4. Spray paint table with two layers of desired spray paint
5. Flip pallet wood and table upside down and line them up together
6. Pre-drill holes on the underside of the table on each end of all pallet planks
7. Drill screws long enough to go through the table and approximately half of each plank
8. Flip the table over and apply a coat of clear polyurethane and allow to dry several hours
9. Apply the second coat of polyurethane and allow 24 hours drying time
10. Add the new piece to your collection and post lots of pictures!


 RSS Feed
